
Key Takeaways
- Tools and Safety Gear: Equip yourself with the essentials—glass cutters, soldering irons, cutting mats, gloves, and durable eye protection. These not only improve your efficiency but also reduce the risk of injuries.
- Blueprint Creation: Draft a precise “cartoon” design before cutting any glass. This blueprint acts as your guide, ensuring every piece fits seamlessly.
- Mastering Glass Cutting: Use scoring tools to etch the glass surface, then apply running pliers for clean breaks. Grozing pliers help refine edges, giving your pieces the perfect finish. Practice on scrap glass to fine-tune your technique.
- Adding Depth Through Paints: Incorporate kiln-fired vitreous paint for vivid details. This step elevates your design with colors that resist fading over time.
- Assembling the Masterpiece: Fit your glass pieces into lead cames, solder the joints securely, and apply cement to stabilize the structure and make it long-lasting. Every step counts for both visual appeal and structural integrity.
Stained glass crafting is as much about preparation as it is about execution. Take it one phase at a time, ensuring quality at every stage, and the result will be a stunning piece of artwork that lasts for generations.
Starting Your Stained Glass Journey: What You Need to Know
Creating stained glass art begins with gathering the right tools and materials to ensure both precision and safety. Essential tools include:
- A glass cutter for shaping pieces
- Running and grozing pliers to refine edges
- A soldering iron with compatible 60/40 solder for assembling your design
- Copper foil tape and flux necessary for binding the glass together
Safety is just as important as tools. Be sure to have the following:
- Eye protection to shield against shards
- Gloves to prevent cuts
- A fume/dust mask to protect from harmful fumes and dust
- A grinder to smooth rough glass edges, enhancing your piece’s polish
- A fid to flatten the copper tape for easier soldering
A well-organized workspace is key. Keep tools within reach and ensure ventilation to manage fumes during soldering. With these preparations, you’ll be ready to turn your vision into an extraordinary stained glass creation.

Designing Your Masterpiece: The Importance of Planning Ahead
Every great stained glass project starts with a “cartoon.” This is a full-sized sketch that maps out every shape, color, and detail of your design. It’s more than just a visual guide—this blueprint ensures precision during the glass cutting and assembly stages. By having it to refer to, you’ll reduce errors and make sure your finished piece truly reflects your vision.
Taking time for adjustments during this step is worthwhile. Maybe a certain pattern looks too busy, or a specific color combination doesn’t balance well. Making changes on paper is much easier than trying to fix mistakes later.
To ensure your stained glass has aesthetic harmony, focus on strong composition and color flow while sketching. A vivid, accurate plan will keep you on track and help your creativity shine through in the final piece.

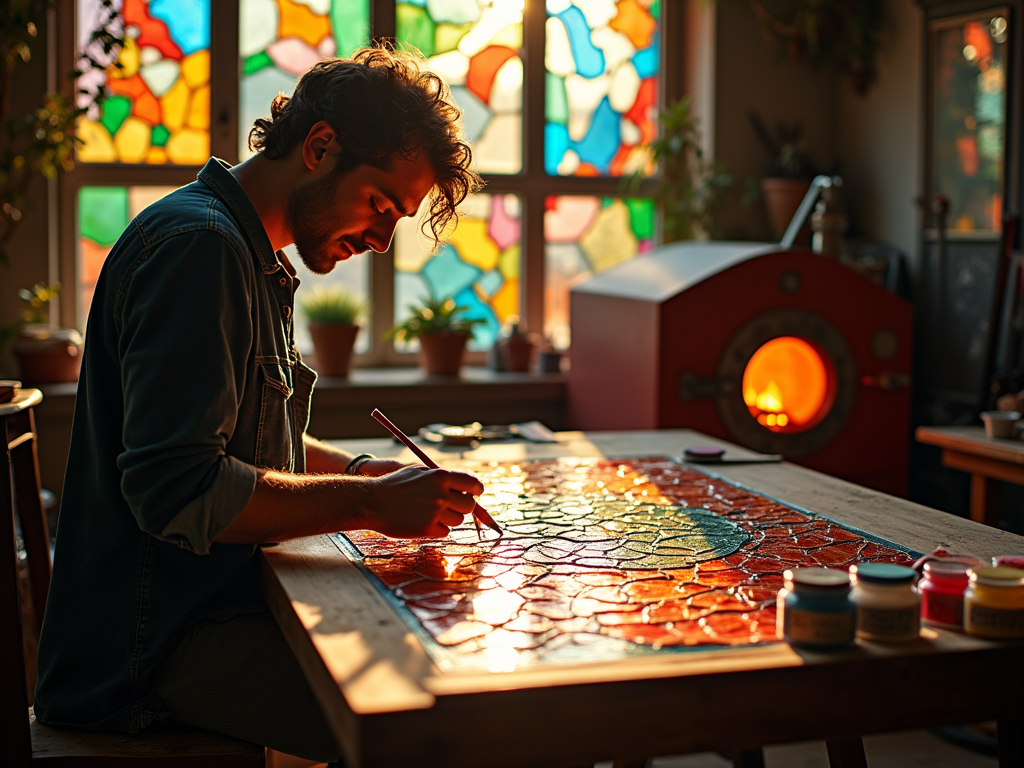
Cutting and Shaping Glass: Where the Vision Takes Form
Each piece of your design begins with accurate transfer onto the glass, either with lime wash or a marker. This ensures alignment with your original pattern. It’s here where the magic really happens—turning sketches into tangible components.
Glass cutters are your primary tool. They score the surface to create breaking points. For straight lines, running pliers help cleanly snap the glass along the score. To refine edges or tackle tricky curves, grozing pliers are indispensable.
Scoring isn’t about force but precision. A light, smooth pass with the cutter leaves a faint line, guiding the glass to break cleanly. Patience is key. Properly shaped pieces mean they’ll fit together perfectly during assembly, avoiding gaps and mismatched edges.
This part of crafting stained glass feels rewarding as each unique piece starts to reflect your design, taking you one step closer to the finished artwork.

Adding Color and Character: Painting Stained Glass
Adding paint makes stained glass truly stand out. Vitreous paint, which contains powdered glass and metallic oxides, is applied to the cut pieces. This type of paint works well because it bonds with the glass during firing, creating a permanent effect.
The kiln-firing step is where the magic happens. The heat fuses the paint into the glass, locking in vibrant and lasting hues. Each oxide produces a different shade; copper oxide, for example, can create ruby, blue, or green tones. It’s a chance to bring unique colors and dimensions to your project.
The combination of painting and firing does more than just add color. It enriches the design, making each piece feel personal and timeless. This process ensures stained glass artwork isn’t just decorative, but becomes something meaningful and durable. It’s a creative step that lets you express individuality through vibrant, lasting artistry.
Assembling the Puzzle: Bringing the Design Together
Piecing together your stained glass project involves framing each section with lead cames, which are flexible strips of metal that hold the glass in place. The design, guided by your cartoon, acts as your blueprint. Each glass piece needs to fit snugly within this framework.
Once all pieces are secured, I solder the joints using a lead-tin mixture. This creates a strong bond between the cames, reinforcing the structure. To finish, I apply cement over the entire piece, sealing gaps and stabilizing the glass. This waterproofs your creation, protecting it against wear and tear.
Paying attention during assembly is key. Think of it as solving a three-dimensional puzzle where every piece has its place. By soldering the joints and cementing the frame, you’ll end up with a strong, cohesive design that balances beauty and durability. It’s all about precision and patience!

Soldering with Care: Essential Safety Tips for a Smooth Process
Safety should always come first when soldering stained glass. Start by protecting yourself—wear gloves to prevent burns and cuts, and put on eye protection to shield against splatter. Set up your workspace in a well-ventilated area to minimize exposure to flux fumes, which can be harmful.
It’s important to handle soldering tools correctly:
- Always place hot tools in their stand when not in use.
- Unplug tools as soon as you’re finished.
- Avoid having food or drinks near your workspace to prevent accidental contamination or spills.
Stay mindful of your surroundings to keep everything secure. By focusing on these practices, you’ll not only protect yourself but also maintain a safe and efficient workspace. Once you establish these habits, the process will feel much more enjoyable and worry-free.

Sources:
Cumberland Stained Glass: How Is Stained Glass Made?
CoGlassWorks: The Tools You Need to Make Stained Glass Art
Iowa PBS: Stained Glass Making
Disclosure: As an Amazon Associate, I earn from qualifying purchases.