
Making candles at home brings together creativity and practicality while allowing you to craft unique décor pieces or heartfelt gifts. Focusing on the essentials—choosing the right materials, mastering melting and pouring, and finishing techniques—sets the foundation for creating candles that reflect your style.
Key Takeaways
- Choose wax to fit your needs: soy for sustainability, beeswax for extended burns, paraffin for bold scents, or coconut wax for a high-end result.
- Pair wick size with the wax and container to prevent problems like tunneling or excessive soot.
- Use a double boiler for melting wax to maintain consistent heat and avoid scorching.
- Personalize candles with dyes and fragrance oils, pairing scents thoughtfully to craft distinctive aromas without uneven blending.
- Solve issues like frosting or sinkholes by adjusting pouring temperatures and methods for a polished, even appearance.
Essential Supplies and Choosing the Right Materials for Homemade Candles
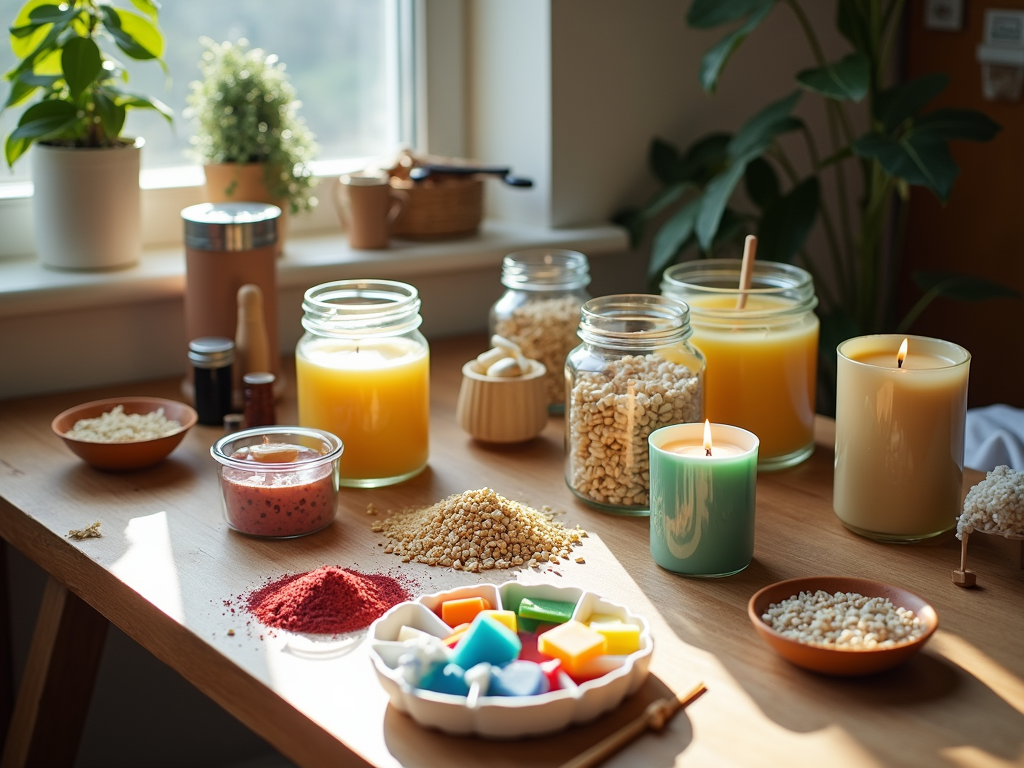
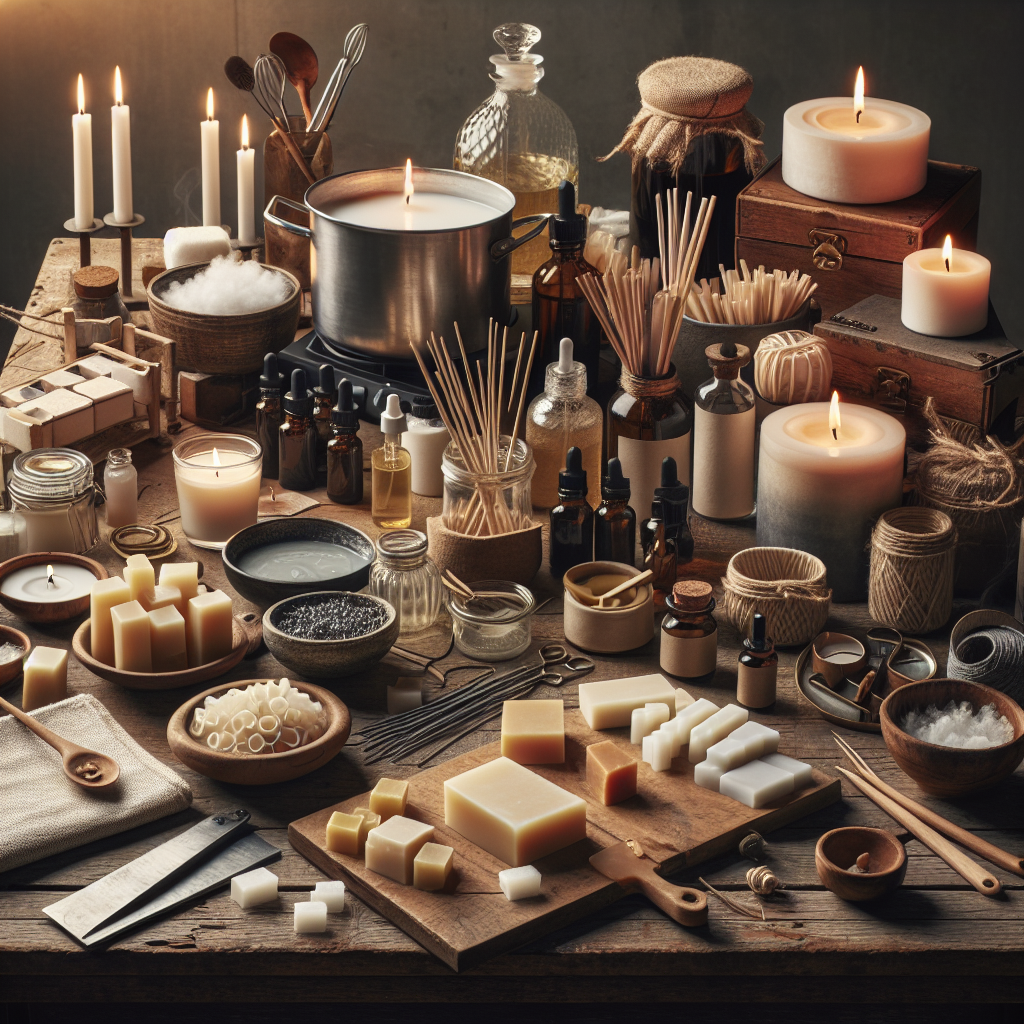
To start making candles at home, you’ll need some core supplies that ensure safety, efficiency, and quality. Here’s what I always keep on hand:
- Wax: Soy, paraffin, beeswax, or coconut
- Wicks: Cotton or wooden in the correct size
- Fragrance oils for scent (optional)
- Containers: Glass jars, metal tins, or ceramics
- Double boiler or heat-safe pot and bowl
- Thermometer to monitor wax temperature
- Stirring utensils and safety tools like heat-resistant gloves and eye protection
Choosing the Right Wax
Choosing the right wax is critical since different types offer unique benefits:
- Soy Wax: It’s natural and clean-burning with a moderate scent throw, making it great for beginners.
- Paraffin Wax: Known for its affordability and strong scent dispersion but less eco-friendly.
- Beeswax: Offers a long burn time and a natural aroma yet doesn’t hold added fragrances as well.
- Coconut Wax: Luxurious with excellent scent throw and eco-friendliness but costs more.
Picking the Perfect Wick
The wick selection depends on container size and wax type. I make sure to choose a properly sized wick to avoid issues like tunneling or excessive soot. Wooden wicks create a soft crackle, while cotton wicks burn more consistently. Always consult a wick size chart when pairing materials.
Choosing the Right Container
Lastly, the container material matters. Glass works well with soy or coconut wax due to even heat distribution. Metal tins pair nicely with paraffin. Check this guide to making candles for more on suitable containers.
The type of wax you use defines your candle’s burn time, scent quality, and appearance. Soy wax is popular for container candles because it melts evenly and burns longer. It’s also a plant-based option, making it eco-friendly. Paraffin wax, on the other hand, delivers a powerful scent throw but isn’t as sustainable since it’s made from petroleum.
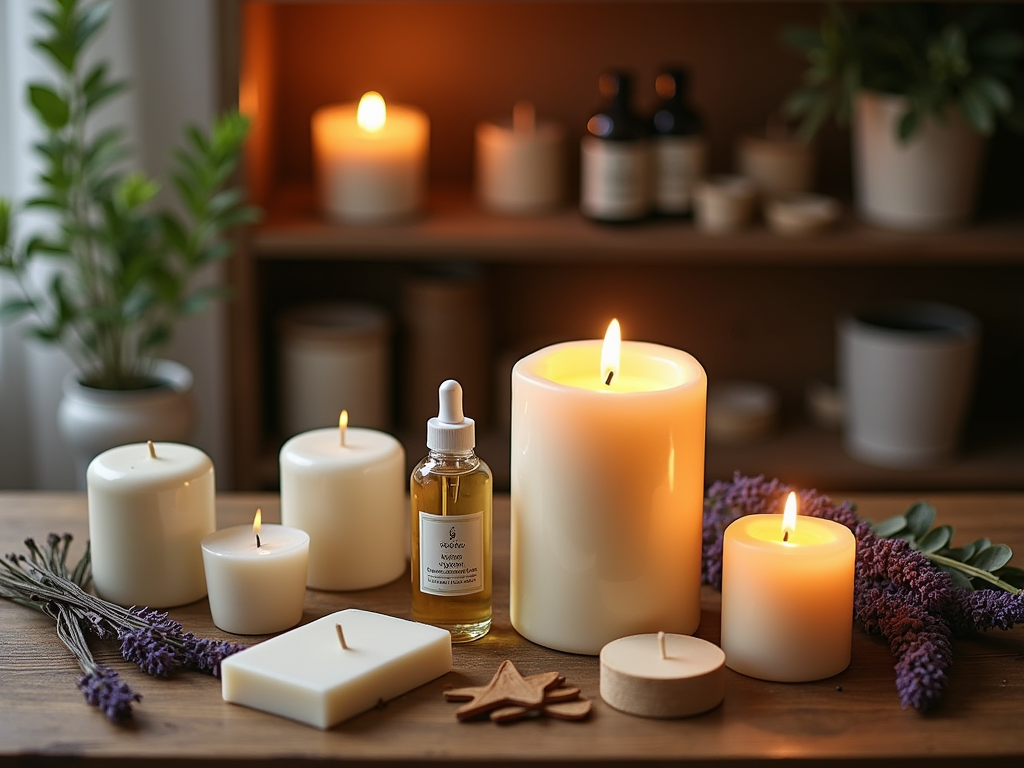
Beeswax is my favorite for premium, long-lasting pillar candles. It burns cleaner and longer than most other waxes while adding a subtle, natural honey aroma. Coconut wax, while more expensive, creates a creamy finish and is great for those experimenting with a smoother texture or enhancing scent profiles. Lastly, wax blends combine benefits, like soy-paraffin blends, balancing burn time with fragrance throw.
Burn Time Comparison
Here’s an easy chart to compare burn times per ounce for different waxes:
- Soy Wax: Burns 8–10 hours
- Paraffin Wax: Burns 5–7 hours
- Beeswax: Burns 10–12 hours
- Coconut Wax: Burns 8–9 hours
Sustainability Tips
For sustainability, stick with soy or beeswax. Both leave a smaller environmental footprint compared to paraffin. If you’re exploring custom scents, soy wax works great for loosening essential oil fragrances. For more details on scent crafting, my candle-making guide here explains this further. Always select your wax based on your planned candle style and the experience you want to create!
Matching the right wick to your wax and container makes all the difference. A wick that’s too small won’t melt the wax evenly, leaving “tunneling.” One that’s too large creates excess soot and a flame that’s hard to control. Here’s a quick guide to help:
- Small containers (2-3 inches diameter): Use wicks between sizes 2 and 4.
- Medium containers (3-4 inches): Try sizes 5-7.
- Larger containers (over 4 inches): Opt for sizes 8 and above.
Always test burning to adjust as needed.
Materials matter too. Cotton wicks give that classic, even burn; wooden wicks crackle for a cozier vibe; and paper-core wicks often boost flame strength in larger candles.
When choosing fragrance, essential oils deliver natural aromas, but synthetic oils often offer stronger, more diverse options. Whichever you pick, know their flashpoints—the temperature at which they evaporate—for safety. I like to keep fragrance loads between 6–10% of wax weight depending on wax type, ensuring optimal scent throw. Soy wax, for example, handles up to 10%, while beeswax performs better around 6%.
Want unique scent combos? Blend oils with complementary notes. Think lavender and vanilla for calm, or eucalyptus and mint for refreshment. If you’re diving into scented creations, check out this guide on how to make scented candles.
Step-by-Step Guide to Melting, Pouring, and Curing Candles
Melting wax safely starts with the right tools. I always use a double boiler or a heat-safe pot. The double boiler prevents direct heat from burning the wax. This setup lets me maintain control, ensuring the wax melts evenly. A thermometer is essential; for soy wax, I heat it to around 120-180°F, while paraffin requires slightly higher temperatures. Overheating can ruin the wax, causing crystallization or discoloration.
Pouring evenly takes practice, but I’ve found these steps work every time:
- Secure the wick in the center using a wick holder or a pencil balanced across the top.
- Pour the wax steadily, avoiding sudden movements.
- Prevent air bubbles by tilting the container slightly as you pour.
Curing the candles is just as important. Soy candles need about two weeks to fully cure for the best scent throw, while paraffin benefits from around one week. If you’re interested in scented options, learn how to make scented candles for added depth.

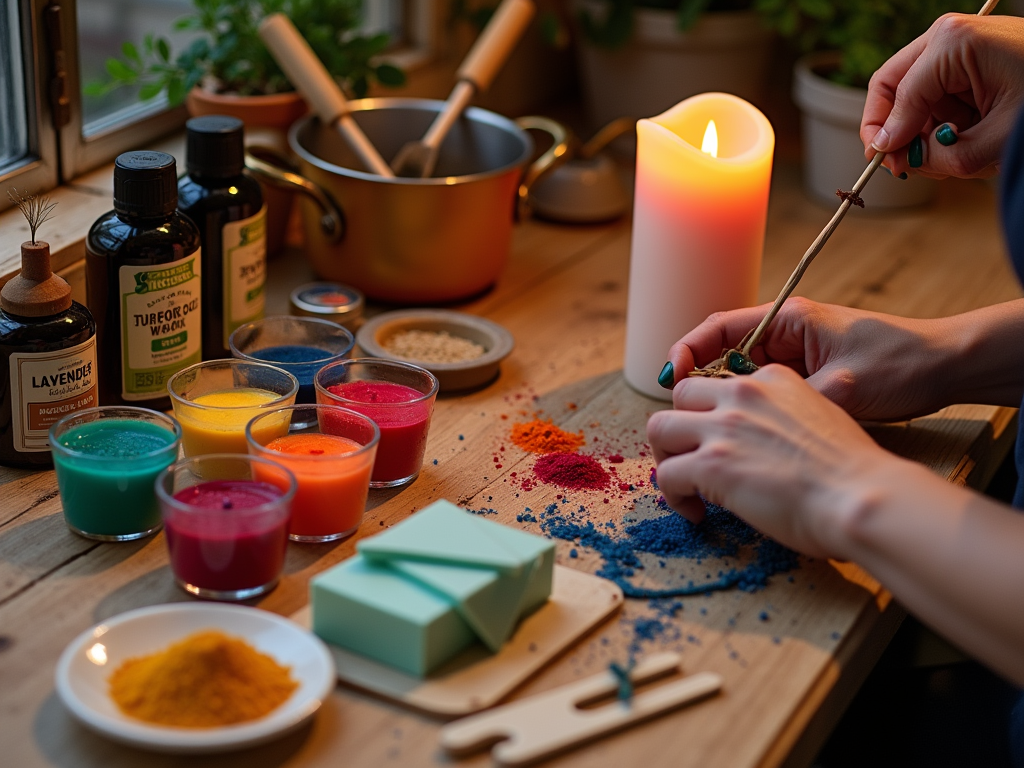
Adding Color and Customizing Scents for Unique Candles
Choosing the right colorant makes all the difference. I’ve used dye blocks, liquid dyes, and natural pigments, each with its perks. Dye blocks offer rich shades, while liquid dyes are great for precise control. Natural pigments, like turmeric or beetroot powder, give a rustic, earthy look but may not dissolve as smoothly. Always melt your wax fully before adding the colorant, and stir consistently to keep shades even.
For scents, blending fragrance oils is where creativity shines. Choose complementary notes—citrus pairs beautifully with vanilla, while lavender works wonderfully with eucalyptus. Start small. Mix just a few drops and test before scaling up. Add fragrance oils once your wax cools slightly (about 180°F for soy) to avoid oil evaporation and weak scents.
To avoid clumps, stir well when adding both color and fragrance. This ensures your candles burn smoothly. For extra tips, check out how to make scented candles.
Troubleshooting Common Candle-Making Issues
Candle-making isn’t without its hiccups. But knowing what causes issues like tunneling, frosting, sinkholes, or air bubbles makes troubleshooting easier and leads to better results.
Identifying and Fixing Frequent Problems
Here are some everyday candle-making challenges, explained with tips to fix or avoid them:
- Tunneling: This happens when the wax burns only in the center, leaving a ring of wasted wax around the edges. It’s usually caused by using the wrong wick size. Solve it by choosing a larger wick and ensuring the first burn melts the wax pool all the way to the edges. If it’s already happened, wrap the candle loosely in foil while burning—it’ll even out the melt.
- Frosting: Those white, crystallized patches on soy candles are frosting. It’s caused by cooler temperatures or holding wax too long before pouring. To prevent it, stabilize your pour temperature around 120-140°F. Keep candles in a stable room temperature after they’ve been poured.
- Sinkholes: These pesky craters form around the wick and happen when the wax contracts too quickly. Reheat the top layer of your candle to smooth out sinkholes. Pouring wax in layers instead of all at once can help prevent this.
- Uneven Burns: If one side burns quicker, check your wick placement—it’s likely off-center. Trimming the wick to 1/4 inch before each burn can fix uneven burns. Too long a wick causes excessive heat, creating inconsistent wax melt.
For beginners, don’t stress if troubleshooting feels overwhelming at first. I’ve written a step-by-step guide on how to make a candle, which can help you refine your process as you go.
Sources:
Candle Making Craft Pro – “Essential Supplies”
Candle Making for Dummies
Candles.org – “Safety Guidelines”