

Crafting a faux plant wall offers a budget-friendly way to add greenery to your home or outdoor area without dealing with upkeep. With proper preparation, smart tool selection, and a clear design vision, you can build a vibrant vertical garden that enhances any setting.
Key Takeaways
- Measure the wall to determine how many plants you’ll need and how dense the layout should be.
- Choose a specific style, such as tropical or minimalist, while combining textures and colors for a layered look.
- Use mounting grids or trellises, securing plants with zip ties or floral wire for stability.
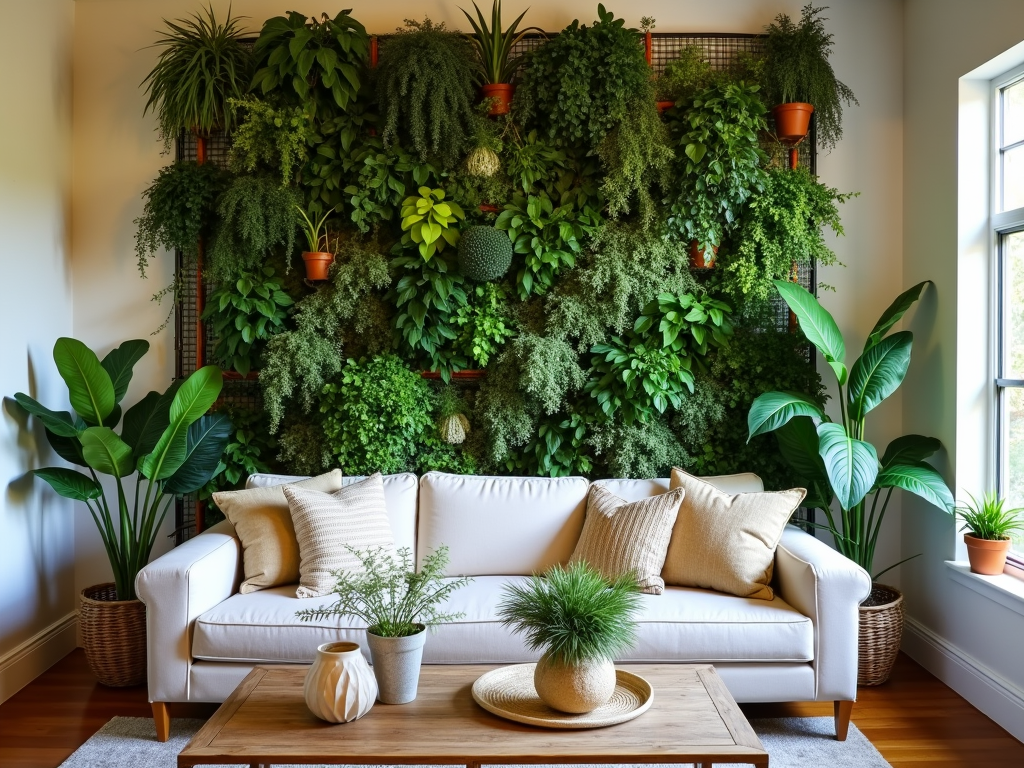
- Layer plants of various sizes and textures to make the design feel full and realistic.
- Clean the plants regularly and rearrange them occasionally to keep the wall looking fresh and lively.
Start with a Stunning Vision: Designing Your Faux Plant Wall
I always start with accurate wall measurements before diving into the design. Grab a tape measure and jot down both the height and width of your chosen space. These numbers are your foundation, helping you estimate how many faux plants you’ll need and letting you determine your plant wall’s overall density. Whether you prefer a sparse, medium, or dense look, knowing this upfront saves time later.
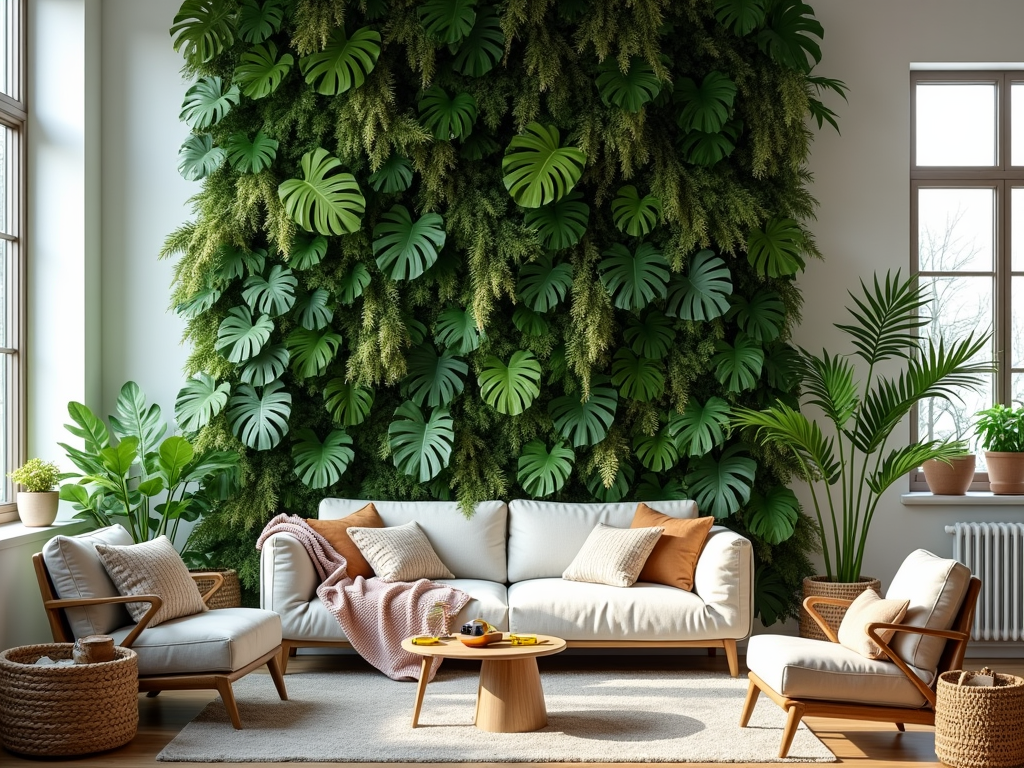
Once you’ve got your measurements, think about the vibe you want to create. A tropical theme with lush ferns and monstera leaves gives a vibrant, exotic feel, while a desert-inspired mix of succulents and artificial cacti brings a minimalist charm. For those who love variety, consider blending textures and colors from multiple styles. Deciding on a cohesive aesthetic makes it easier to fill your wall with purpose.
I like to sketch a rough layout next. This helps me figure out plant placement and ensures the design feels balanced. Think of your faux plant wall as a vertical garden or living wall alternative—something that should blend beautifully with the rest of your space.
If you’re uncertain about plant types or cleaning needs later on, check out this guide on faux plants. It’s always helpful when planning a lasting look. Start with a clear design, and your DIY plant wall project will come to life effortlessly.
Gear Up: Materials and Tools You’ll Need
To create a stunning faux plant wall, I start by gathering a mix of artificial plants. I like to include ferns, leafy vines, and succulents in a range of sizes. This variety really helps bring the layout to life, giving it depth and a more natural look. Make sure to choose plants that complement each other, so the overall effect feels cohesive. If you’re unsure how to pick the best types, I’d recommend reading this guide on faux plants for ideas.
Next, I select a mounting surface. Options like a plastic grid, metal grid, or wooden trellis can work well. Plastic is lightweight and budget-friendly, while metal adds durability, and wood often delivers a polished, organic feel. It’s also worth thinking about the wall behind the grid—do you want the backing exposed, or would something like fabric or foam enhance the look?
For tools, I rely on the following:
- Zip ties or floral wire to attach the foliage securely to the grid.
- Scissors or wire cutters for trimming stems.
- A staple gun for affixing grid edges to a wall if needed.
- Standard measuring tools to ensure everything fits properly.
Proper prep makes mounting faux greenery easier and ensures professional-looking results. If you’re nervous about maintaining them later, I recommend exploring these tips on cleaning faux plants.

How to Install Your Faux Plant Wall Like a Pro
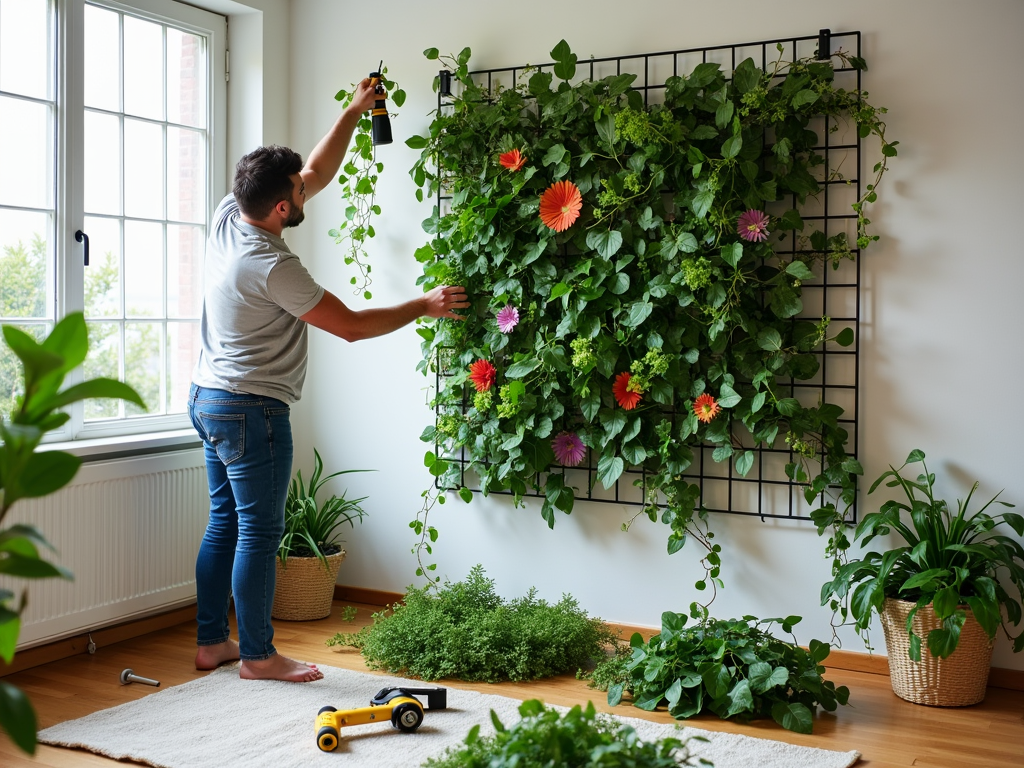
Start by securely attaching a grid or panel to your wall. Use wall anchors, screws, or heavy-duty adhesive strips, depending on your surface type. Make sure it’s level and fully secured—this keeps your plants stable. After that, fasten your faux plants to the grid using zip ties or floral wire. I recommend positioning plants loosely first, so you can experiment with placement before locking them down.
Layering plants adds depth and creates a realistic effect. Place larger leaves as a base, then layer smaller or colorful accents over them. Vary the heights of the plants slightly to avoid a flat, artificial look.
Finally, conceal grid edges by letting foliage spill over or wrapping them with creeping faux vines. This step blends everything together and gives a polished, professional result. For more tips, you can check out ideas on decorating with faux plants.
The secret to a stunning faux plant wall lies in choosing plants with lifelike textures and natural color variations. I start by picking realistic artificial plants that look convincing up close. For example, tropical options like monstera and philodendron bring a lush, vibrant feel with their oversized leaves and diverse shades of green. If you’re after something drier and contemporary, succulents and cacti deliver that desert-inspired charm with their unusual shapes and muted tones.
I always suggest mixing different types of plants to create contrast. Something as simple as pairing bold monstera leaves with the delicate texture of trailing philodendron can make a huge difference. Add in bursts of air plants or small succulents for texture and variety, enhancing the overall design without overwhelming the viewer.
Bringing in different textures and shades helps keep the arrangement dynamic. I love pairing glossy plants with velvety or matte options. Mixing light and dark foliage elevates the wall’s dimension, creating a visual pop.
It’s worth exploring plant combinations that match your style. If you’re interested in exploring other ideas or need advice on plant care, you might find guidance in this article on what makes a faux plant look realistic. Experiment until you land on something that feels perfect for the space you’re designing.
Keep It Picture-Perfect: Faux Plant Wall Maintenance
Dusting and wiping your faux plant wall regularly keeps it looking vibrant and fresh. Dirt and dust can dull the appearance, so I recommend a quick cleaning session every few weeks. For a detailed guide, my tips on how to clean faux plants are really helpful for tackling stubborn spots or harder-to-reach areas.
The cleaning frequency typically depends on your environment. If your wall is in a high-traffic area or near an open window, it might attract grime faster. Use a soft cloth or a microfiber duster to gently remove dust, and consider compressed air for intricate arrangements.
Refreshing and rearranging plants occasionally can help your wall stay lively. Over time, even the most beautifully designed layouts can start to feel predictable. Swapping positions or adding a new faux plant can instantly refresh its look. If you’re new to these decorations, check out what is a faux plant to get a sense of their versatility.
By keeping this maintenance simple, your faux plant wall stays lush and inviting no matter the season. This kind of upkeep doesn’t just preserve its aesthetic but ensures long-term care that makes your effort worthwhile.

Budget-Friendly Tips and Cost Breakdowns
Building a faux plant wall can be surprisingly affordable with the right plan. For a small wall, you might spend around $50–$150, depending on plant density and material choices. Large walls can range from $200–$800 or more. The key is to determine your desired coverage and stick to a budget.
Buying faux plants in bulk is a great way to cut costs. Repurposed materials like old trellises or wire grids also make excellent backings without adding much expense. Faux plant walls can save you 50–75% compared to living walls, which require ongoing maintenance and irrigation systems.
Carefully planning can bring the price per square foot as low as $10. If you’d like to explore decorating ideas, check out tips on how to decorate with faux plants for added inspiration.
Sources: