
Making your own candle can be a creative and deeply satisfying activity. It offers plenty of options to match your style—whether you’re deciding on the container, the scent, or even the wick type. All it takes is a few essential tools, some preparation, and a little focus.
Key Takeaways:
- Choose the right container and materials: Pick a container that’s both heat-resistant and free of cracks. Combine this with quality wax, a proper wick, a thermometer, and optional scents or dyes to bring your vision to life.
- Measure and melt wax correctly: Double the volume of your container to determine the amount of wax you need. Heat the wax steadily, following the ideal temperature range for your wax type to maintain its integrity.
- Customize with scent and color: Once melted, remove the wax from the heat before adding fragrances or colors. This ensures an even mixture and prevents burning off the scent.
- Pour and set with care: Keep the wick upright using a stabilizer, and pour the wax at a temperature around 135°F. This helps create a smooth finish and reduces air pockets.
- Prioritize safety: Always work in a well-ventilated space and stay attentive. Monitor the wax temperature closely, avoid overheating, and have a fire extinguisher nearby just to be safe.
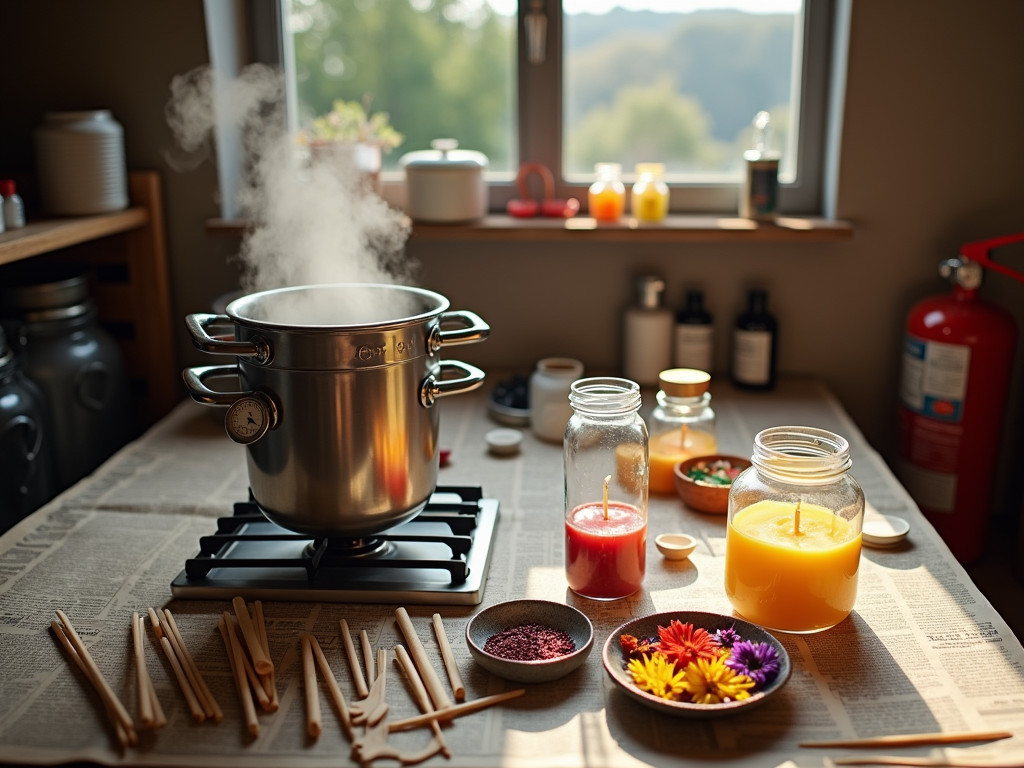
Start Your Candle-Making Journey: What You Need to Know Before Getting Started
Choosing the right container is your first step. Pick something safe for holding melted wax—think Mason jars, tin cans, votive holders, or traditional candle jars. Keep it clean and bone-dry. Once the candle is poured and set, you’re committed to that container since transferring wax isn’t an option.
Next, gather your supplies. Here’s a quick list of essentials to have on hand:
- Candle wax (soy, beeswax, or paraffin work well).
- Wick (size depends on your container).
- Thermometer to monitor wax temperature.
- Double boiler or a heat-safe pitcher for melting wax.
- Stirring tool, such as a wooden skewer or spoon.
- Optional: fragrance oils, essential oils, or color additives for personal touches.
Before melting anything, set up your workspace. Wax spills happen, so line your surfaces with newspaper or an old towel. Keep flammable objects out of reach—you don’t want anything near open flames—or invest in a heat-resistant mat. I also recommend having a fire extinguisher or baking soda nearby, just in case.
Starting strong makes a difference here. Once you’re set up with the essentials and a safe environment, you’ll be ready to dive into the fun part: melting, mixing, and pouring.
Measuring and Melting the Wax: The Foundation of Candle Making
Start by measuring out the right amount of wax for your candle. An easy trick is to fill your chosen container twice with wax flakes or shavings. This will give you the perfect amount to create one candle without waste. Don’t skip this step—it ensures your wax won’t leave you short or overflowing.
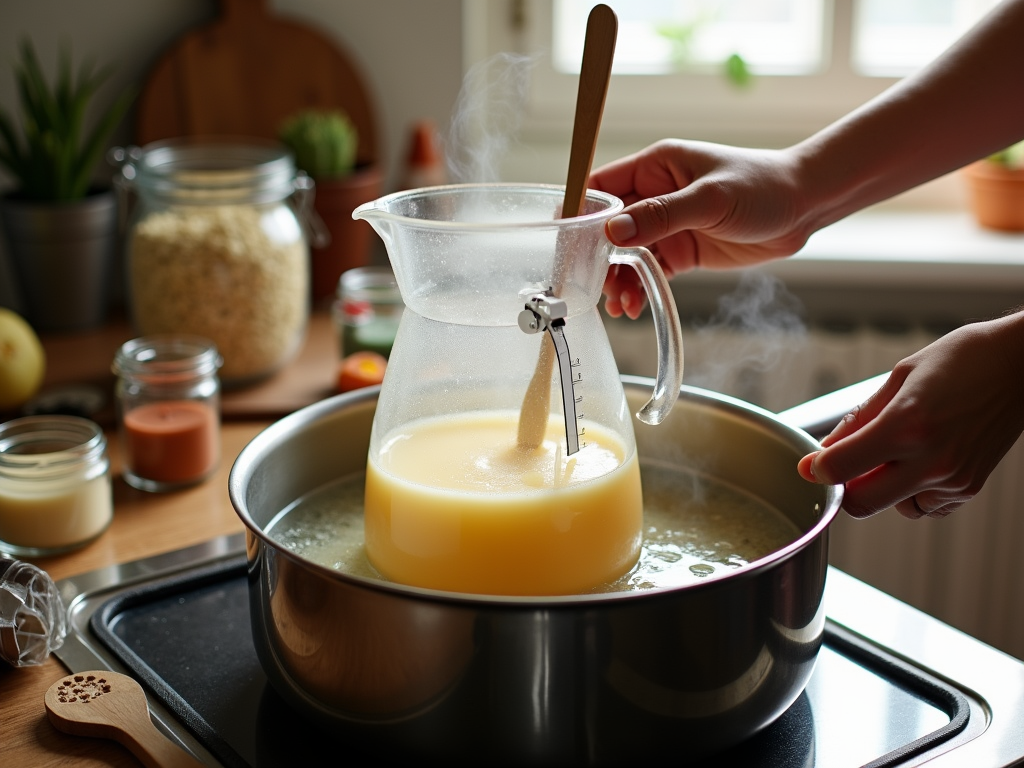
Melt the wax using a double boiler. If you don’t have one, place a heat-safe pitcher in a pot with 2–3 inches of simmering water. Keep the heat low to avoid scorching the wax, and stir now and then for a smooth, even melt. Stirring helps prevent clumps and ensures the wax heats uniformly.
Use a thermometer to keep the temperature just right for the type of wax you’re using:
- Paraffin wax should be melted around 100°F (38°C).
- Soy wax needs to reach 124°F (51°C).
- Beeswax requires a bit more heat, melting at 145°F (63°C).
However, to ensure everything blends properly later, heat the wax up to around 185°F while melting. This is especially useful if you plan to add fragrance or color later in the process.
Pay close attention during heating. Overheating may alter the qualities of the wax or even cause a fire hazard. Always work in a safe, ventilated area.
Adding Personality: Infusing Color and Fragrance
Once your wax has melted and reached the right temperature, take it off the heat before adding color or fragrance. This step ensures both the color pigments and fragrance bind beautifully with the wax without breaking down from excessive heat.
For fragrance, stick to these easy guidelines:
- Use about 1 ounce of fragrance oil per pound of wax. This comes out to roughly 6–10% of the wax’s weight, which strikes that sweet spot between aroma and quality.
- If you’re leaning into natural scents, opt for essential oils. I’d recommend adding anywhere from 30–40 drops per eight-ounce candle, depending on the intensity you’re going for.
Color options range from liquid dyes to mica powder or even natural sources like beetroot powder. Mix the color slowly into your wax until it’s perfectly blended. Don’t rush; it keeps the final result smooth and professional-looking. Feel free to experiment with shades here—your candles can say as much about your style as the fragrance.
Whether you’re aiming for a bold pop of color or a soft pastel, make sure your additives are well-incorporated before pouring the wax into your chosen container. This step ties everything together, ensuring your candle turns out unique while creating an inviting experience for anyone who lights it up.
Wicks and Wax: Preparing and Pouring
Start by attaching your wick to the center of your container. A glue dot or a quick dab of hot glue works perfectly. Cotton wicks are a classic choice and provide a steady burn, while wood wicks crackle a bit, adding a cozy vibe. Pick what suits the mood you’re going for.
Once your wick is in place, prepare the wax. Melt it slowly using either a double boiler or a dedicated melting pot, and keep an eye on the temperature. You’ll want it to cool down to about 135°F before pouring, as this helps reduce air bubbles and gives the candle a smoother surface.
Pour the wax into your container with one hand while holding the wick upright with the other. This keeps the wick centered and prevents it from shifting. Leave a small amount of wax aside for later; a topping-off pour can cover any sinkholes or unevenness that appear as the candle sets. Just make sure the initial layer is fully cooled before adding the extra wax.
If you’re after that Pinterest-worthy finish, consider trimming the wick to about 1/4 inch once the wax hardens. It’s a small touch but makes all the difference for a clean first burn!

Finishing Touches: Securing, Topping, and Setting Your Candle
Before the wax fully sets, make sure the wick stays centered. Use a wick holder for this, or improvise with two popsicle sticks taped together, creating a gap to hold the wick. This step is simple but essential—unsteady wicks lead to uneven burns later.
Once the wax has cooled for about 30 minutes, you’ll likely notice small imperfections or dips on the surface. Don’t worry! Reheat any leftover wax you saved earlier, gently pour it over the top, and even out the surface. This gives the candle a professional, polished look. If you’re feeling creative, now’s the time to sprinkle in some personality:
- A touch of dried flowers
- Glitter for added charm
Let the candle rest for 24 hours to ensure it’s fully set. This waiting period lets the wax harden completely, protecting its quality and performance. When it’s ready, grab some scissors or a wick trimmer and cut the wick down to about ¼ inch. This ensures safe and optimal burning when you finally light it up.
Safety First: Tips for a Smooth and Hazard-Free Experience
Never let melting wax sit without supervision. Wax can easily overheat, and if the water in your double boiler evaporates, the entire setup can become a fire hazard. Keep an eye on the water level and top it off as necessary.
Always monitor wax temperature with a thermometer. Overheating can cause combustion or degrade the quality of the wax. Aim for the recommended melting range specific to your chosen wax type.
Keep wax far from any open flames, including stovetop burners. Even small sparks can ignite fumes. Use a heat-safe pitcher for pouring but ensure its handle stays outside the heat zone to prevent burns.
A well-ventilated workspace ensures safety and comfort. Ventilation prevents any fume buildup, and clutter-free areas minimize the risk of tipping hot tools or materials.
Sources:
Cutesy Crafts: “Easy DIY Candle Making at Home – 9 Easy Steps”
Kalamazoo Candle: “The Ultimate Guide To Candle Making Supplies (For Beginners)”
Scandinavian Candle: “Candle Making Safety Precautions”
Shopify: “How To Make Candles: 10 Simple Steps For Beginners”