
Key Takeaways
- Use the smooth side of the glass for better scoring accuracy and control during cuts.
- Shield your eyes with safety goggles, and work on a cushioned surface to protect both the glass and your tools.
- Invest in high-quality tools like glass cutters for scoring, breaking pliers for separating pieces, and grozing pliers for smoothing edges. They make your job more precise and efficient.
- Apply firm, even pressure while scoring—don’t rush or force the glass to split. Tapping or using pliers strategically helps achieve clean breaks along your score lines.
- Practice on leftover or inexpensive glass to refine your technique. A clean, clutter-free workspace ensures clarity and keeps accidents to a minimum.
https://www.youtube.com/watch?v=b59WhgNID3A
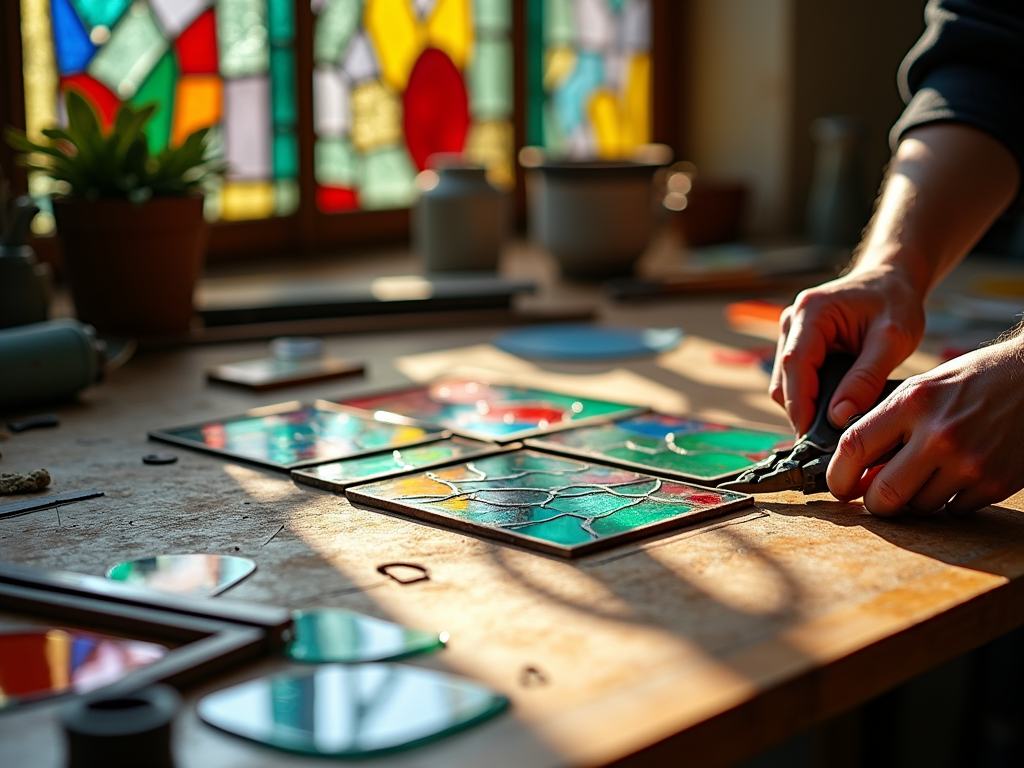
The foundation of any successful stained glass project starts with preparation. Always work on the smooth side of the glass when cutting. This gives you the control you need for clean, precise lines, and ensures that your design ends up exactly how you want it. Take a moment to decide how the texture will be positioned in the final artwork before making your first cut.
Protect your workspace to avoid damage and ensure safety. Using a surface cover like linoleum, newspaper, or an old towel protects the table while cushioning the glass. It also reduces the risk of tiny, sharp shards scattering around. Safety goggles are a must—your eyes will thank you. Glass has a knack for flaking in unpredictable ways, so don’t skip this step.
Keep your area clean and organized to make the cutting process easier and more enjoyable. An uncluttered workspace means fewer distractions and a lower chance of accidents. Whether you’re new to cutting glass or experienced, it’s always smart to prioritize safety and proper setup. When ready to move onto more detailed steps, check out how to make stained glass for inspiration.

Essential Tools for Cutting Stained Glass
The right tools make all the difference in achieving precise cuts and professional finishes with stained glass. A glass cutter is your primary tool, and there are several types to consider. Pistol grip cutters offer ergonomic comfort, while oil-fed cutters like Toyo Supercutters or Gryphon Glass Cutters incorporate built-in reservoirs for smoother, consistent scoring. Dry-wheel cutters are straightforward but may take more effort. If you’re tackling intricate designs, go for cutters with specialized features.
Breaking pliers, or cut-runners, are necessary for cleanly snapping along your scored lines. For fine-tuning, grozing pliers help you clean up edges, removing tiny slivers for smooth, polished results. To ensure straight cuts, use a sturdy rule or straightedge. Always work on a cushioned base like linoleum to prevent cracking and protect your work area.
For more guidance, see this guide on how stained glass is made.

Mastering Scoring: The Foundation of Cutting Stained Glass
Scoring sets the stage for successful glass cutting. Hold your cutter upright, maintaining about 1/16″ (2mm) from the edge. This small distance helps you create a clean, precise score. Use firm, consistent pressure—don’t press too hard or you’ll risk leaving chalky white lines and weakening the glass.
If the glass doesn’t break immediately, don’t force it. Use the ball end of your cutter to gently tap along the score line. This extra step can encourage the glass to snap neatly along the mark. Proper scoring shouldn’t result in jagged edges, making the final assembly smoother and more professional.
Perfecting your technique also helps minimize material waste, saving you effort down the line. For more details on working with glass, explore this guide on how stained glass is made for additional insights.

Breaking Stained Glass: Techniques for Clean, Sharp Splits
Breaking stained glass effectively starts with choosing the right technique for your project. For small, straightforward cuts, use your thumbs to apply pressure on either side of the score line. This method is quick and great for achieving clean breaks without additional tools.
When working on curved or intricate cuts, breaking pliers are essential. Position the pliers along the score line and gently squeeze to guide the glass apart with precision.
Straight cuts often benefit from snapping the glass over the edge of a table or pressing firmly with a straight rule or flat tool. Both ensure a tidy break along your scored line. Always match your approach to the size and shape of your cut. Whether it’s a curved design or a bold straight score, breaking stained glass effectively helps bring your creative vision to life. Learn more about working with glass here.
Advanced Methods for Cutting Stained Glass (and When to Use Each)
Different techniques suit different glass pieces and designs. Picking the right one makes all the difference.
Techniques to Consider
- Small, straight cuts using your handsUseful for simple cuts on small pieces. Align your score with light pressure, then snap the glass apart using your fingers.
- Larger cuts aligned with a table edgePosition the scored line along the table and apply downward pressure for clean breaks on larger sheets.
- Rule-guided cuts for precisionUse a steel ruler for scoring, ensuring straight and precise lines in geometric designs.
- Curves with breaking pliersPerfect for gentle, curved shapes. Follow the score slowly to avoid damaging delicate edges.
- Edge smoothing with grozing pliersIdeal for refining details or achieving neat edges. Best suited for intricate work like those in handmade stained glass designs. Learn complete techniques here.

Pro Tips for Success with Stained Glass Cutting
Practicing on scrap glass is the best place to refine your technique without fear of wasting valuable pieces. It’s also a good way to test different pressures and angles as you learn. A dull cutting wheel can ruin even the best efforts, so replace it regularly to ensure clean, precise scores.
Handle every piece of glass carefully, especially around your cuts, to prevent unwanted cracks. Consistency is key, so keeping your workspace and tools clean and tidy will help you focus and produce sharper results. A clutter-free area also minimizes accidents.
Cutting stained glass isn’t just technical; it’s an art form. With practice, attention to detail, and well-maintained tools, your skills will evolve. If you’re eager to learn more about the craft, check out this guide on how stained glass is made.

Sources:
Everything Stained Glass: “How To Cut Glass – Improve Your Stained Glass With These Methods”
Anything in Stained Glass: “Tools Glass Cutters”
Delphi Glass: “Glass Cutters – Glass Tools”
YouTube: “Cutting Glass For Beginners in Stained Glass”
Disclosure: As an Amazon Associate, I earn from qualifying purchases.