
Making scented candles at home lets you combine artistic expression with practical use. You can create one-of-a-kind pieces that reflect your personal style while filling your home with fragrances you love. Choosing quality materials like wax, wicks, fragrance oils, and containers, along with mastering techniques like melting, pouring, and curing, helps deliver impressive results that suit your needs.
Key Takeaways
- Choosing the Best Wax: Soy wax burns cleanly and supports the environment. Paraffin provides a strong scent release, while beeswax and coconut wax deliver a polished look but come at a higher price.
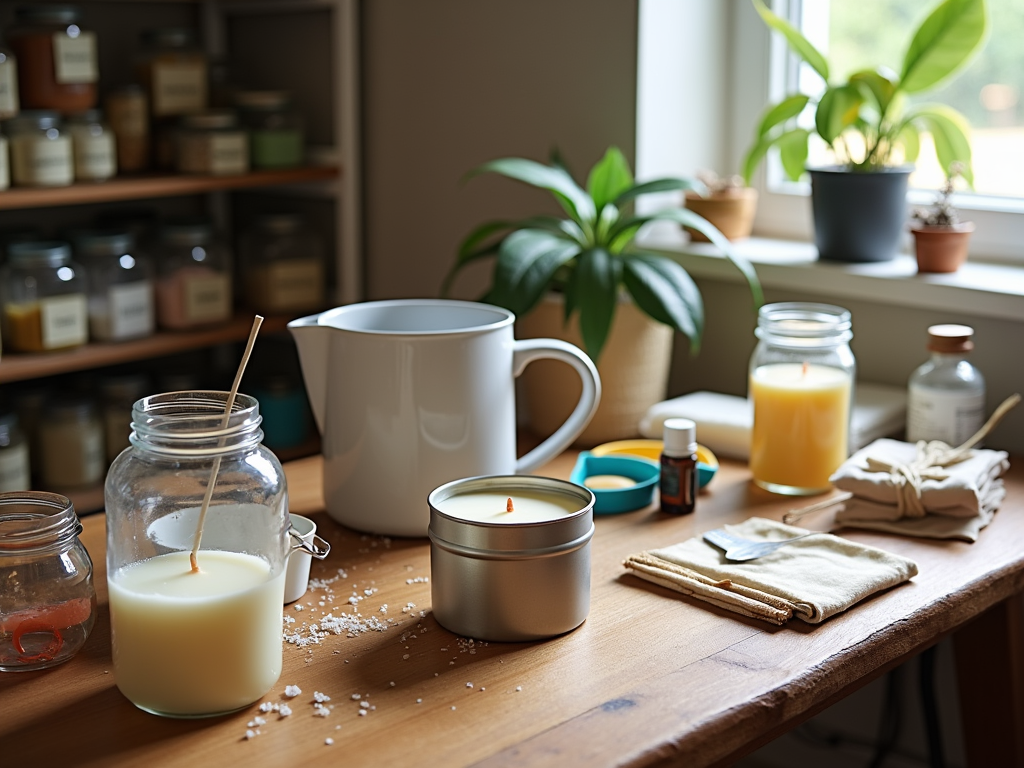
- Essential Tools: Equip yourself with a double boiler, thermometer, pouring pitcher, and wick holders for safe and accurate candle-making.
- Customizing Fragrance and Color: Fragrance oils give you flexibility in scent options, while essential oils bring a natural touch. Dye blocks or liquid dyes ensure vibrant and safe color applications.
- Prioritize Safety: Work in a space with good airflow. Avoid overheating the wax beyond its flashpoint, and keep safety tools like a fire extinguisher or baking soda within reach.
- Curing for Perfection: Let candles cure for 7-14 days to maximize scent release and achieve a smooth finish. Address imperfections like frosting or sinkholes by controlling temperatures and using second pours when needed.
The Essential Tools and Supplies for Candle Making
Getting started with candle making doesn’t take much, but picking the right tools and supplies can make all the difference. The essentials include wax, wicks, fragrance ingredients, containers, and some basic equipment.
Choosing the Right Wax
The type of wax you choose impacts your candle’s performance. Soy wax is eco-friendly and burns cleanly, costing around $2.50-$3.50 per pound. Paraffin wax is a wallet-friendly choice with a strong scent throw, priced at about $2-$4 per pound. Beeswax delivers a luxurious, natural option but can set you back $8-$10 per pound, while coconut wax gives a creamy finish but may stretch your budget. Match your wax choice to your budget and the vibe you want your candles to create.
Selecting the Perfect Wick and Containers
For wicks, pick one based on the size and type of your container. A container like a glass jar or tin is sturdier for beginners, and they’re easy to source. Make sure to grab fragrance oils or essential oils to add that personal scent touch. I’ve found essential oils work beautifully if you want to explore how to make fragrance at home.
Must-Have Equipment
Equipment-wise, you’ll need a setup for melting the wax safely. A double boiler or heat-safe pot works well, paired with a pouring pitcher for transferring melted wax. Don’t skip the thermometer to monitor temperatures and a scale for precise measuring. Stirring utensils like wooden spoons or silicone spatulas are also handy to blend in fragrance evenly.
Eco-Friendly Candle Making
If sustainability matters to you, using soy wax combined with reusable jars is a great way to maximize eco-conscious choices while enjoying a stylishly fragranced home. For extra tips, check out how to fragrance your home naturally with DIY ingredients.
https://www.youtube.com/watch?v=R2vDVSxi_ak
How to Choose the Perfect Wax for Your Candles
The type of wax you pick sets the tone for your candle-making experience. Each option offers unique perks and challenges, so understanding their properties can make your decision easier.
Soy Wax: Clean and Sustainable
Soy wax is a favorite for its clean burn and eco-friendly reputation. It melts between 120-180°F, making it user-friendly, even for beginners. While soy offers a smooth finish and supports natural ingredients, its slightly higher cost might be something to consider. It’s a solid choice if you’re looking to create a sustainable, environmentally conscious product.
Paraffin Wax: Affordable with Excellent Scent Throw
Paraffin wax stands out for its ability to carry fragrance. It’s budget-friendly but petroleum-based, which may deter those looking for natural options. With a higher melting point, it gives a sturdier texture, making it ideal for intricate designs.
If you’re craving more natural candle options, you might want to explore how you can make fragrances at home to pair with wax varieties.
Mastering Fragrance and Color in Candle Making
Choosing the right fragrance and color can completely transform your candle-making experience. I always start by deciding between fragrance oils and essential oils. Fragrance oils are synthetic and offer a wider range of creative scent options. Essential oils, on the other hand, are natural and often provide therapeutic benefits, like lavender for relaxation.
When using essential oils, ensure they’re diluted properly. I stick to a 6-10% fragrance load for soy wax, as this keeps the balance just right. Managing flashpoints is crucial—add fragrance at around 185°F to lock in the scent without diminishing its potency.
Coloring is just as fun. For safe and vibrant hues, I recommend either dye blocks or liquid dyes. They blend beautifully and won’t affect the burn quality of your candle. If you’re eager for more tips on creating custom scents, check out this guide on how to make a candle.
Step-by-Step Guide to Melting, Pouring, and Wicking Candles
Melting wax is where the magic begins. I always use a double boiler or a heat-safe pot set over gentle heat. This helps prevent burning or overheating the wax, which can ruin the scent and texture. A thermometer is non-negotiable here—keep the wax between 160°F and 180°F depending on the type you’re using. Always take safety seriously; never leave melting wax unattended.
While waiting for the wax to reach the right temperature, it’s time to prep the containers. Center the wicks perfectly to ensure an even burn. Wicks can be held in place with:
- Adhesive tabs
- Hot glue
- Wick holders
Your container diameter matters, though! For example, a 3-inch diameter jar typically needs a medium-sized wick. Wick sizing charts come in handy for making the best choice.
Once the wax melts, it’s ready to pour. Slowly and steadily is the rule. A quick pour can create air bubbles or cause uneven layering. I pour at a consistent pace to achieve a smooth finish. For detailed instructions on combining scents with wax or choosing fragrance oils, check out this article on how to make fragrance at home.
Finally, let your candles cool completely before trimming the wick to about ¼ inch. This ensures a clean, controlled burn for that first lighting moment—a reward for your careful efforts!

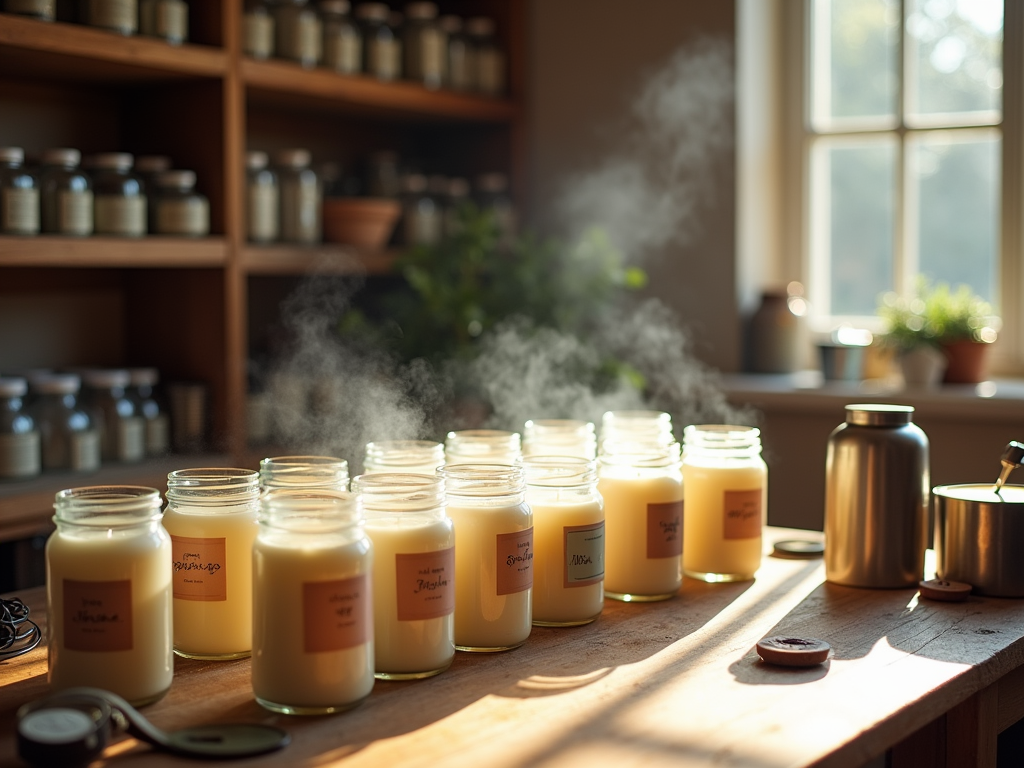
Curing Your Candles and Solving Common Issues
Curing is what allows the fragrance and wax to fully bond, giving the candle its best scent throw and refining its texture. For soy wax candles, curing takes about 7-14 days. It might feel like a long wait, but trust me, it makes all the difference. Place your freshly poured candles in a cool, dry spot and resist the urge to light them too early—you’ll thank me when the scent is perfection.
Of course, the process isn’t always seamless. A few common issues can crop up, but they’re easy to address with a bit of care.
Common Issues and How to Fix Them
Some obstacles pop up more often, especially when working with soy wax. Here’s how I tackle them:
- Frosting: This is that whitish coating you might see on soy candles. It happens because of rapid temperature changes. To reduce this, I always pour my wax at a steady, moderate temperature and avoid drafts or cold rooms.
- Sinkholes: These unwanted craters can show up in the center of the candle. Pouring the wax slowly and ensuring the melt temperature is just right helps prevent this. If one does appear, I like to top it off with a light second pour to smooth it out.
- Wet Spots: These are patches where the wax doesn’t adhere to the jar. Preheating the container—just a little—before pouring minimizes this issue. A quick warm-up with a heat gun does wonders.
Once you’ve addressed these, you’ll be one step closer to perfect candles. For more scent ideas, check out my guide on how to make fragrance at home.
Staying Safe While Crafting Candles
Safety should always come first, especially when working with hot wax and open flames. I always wear gloves to protect my hands and opt for eye protection, particularly during the melting process, as splashes can happen unexpectedly. It’s just common sense to melt wax in a well-ventilated space, since the fumes can linger—especially for those experimenting with scents using fragrance oils.
If I’m heating wax, I never leave it unsupervised. Wax can ignite if it heats past its flashpoint, and that’s a risk I won’t take. I make sure to have a fire extinguisher within easy reach. In a pinch, a box of baking soda also works for small wax fires, but water isn’t an option—it can cause the fire to spread.
Leftover wax can cause its own issues. Instead of pouring it down the drain, which might block pipes, I wait for it to cool, then scrape it into the trash or save it for a new project. Your tools are another consideration. I clean mine while they’re still warm, using paper towels to remove excess wax before it hardens.
Understanding basic fire safety is the backbone of candle making. Taking these precautions turns crafting into a much smoother—and less stressful—experience. For more ideas on creating scents for your home projects, you can check out this guide on natural home fragrance ideas.
Sources:
The National Candle Association
CandleScience
Bramble Berry
HappyDIYHome
The Spruce Crafts