
Making your own picture frames offers an affordable, flexible way to display your photos or artwork. You can easily match designs to your style while cutting costs compared to pre-made options. With a few tools, materials, and simple techniques, you can create frames that are practical for everyday use or decorative enough to stand out. This makes it a fun project for beginners and experienced DIY enthusiasts alike.
Key Takeaways
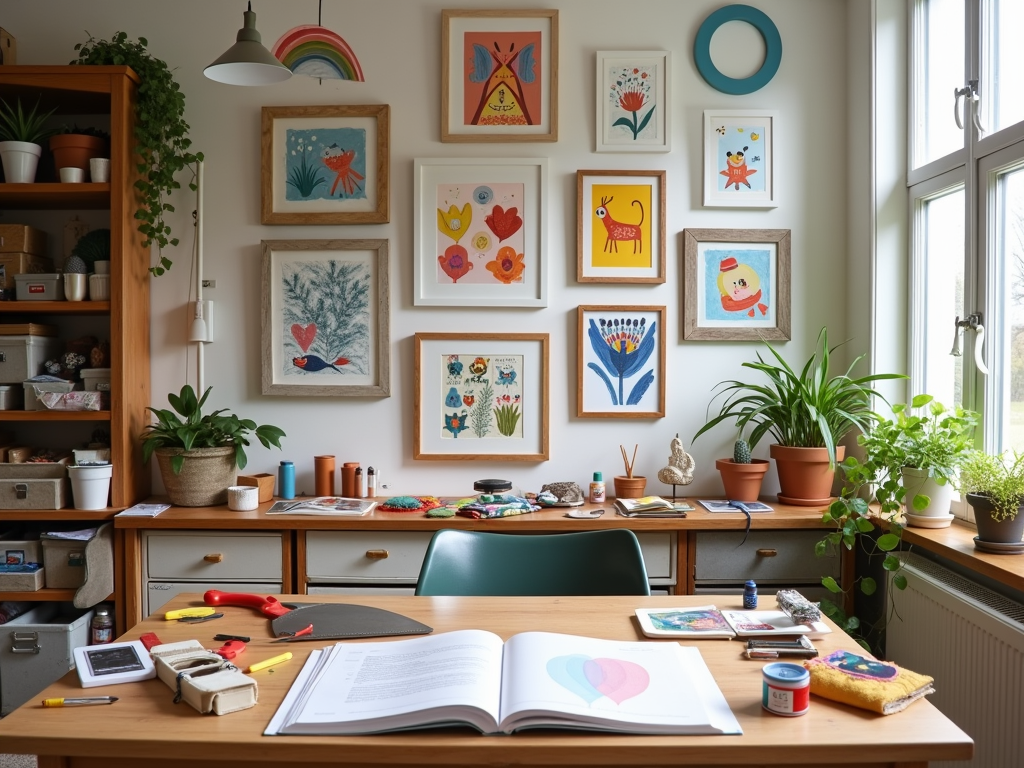
- DIY picture frames are budget-conscious and save money, particularly if you’re framing several items or creating a photo gallery at home.
- Choose from a variety of materials like wood, fabric, or metal, and use finishes such as rustic, modern, or minimalist to match any design preference.
- Miter saws, adhesives, and sandpaper are must-have tools, but pre-made kits can make the process easier for those who are pressed for time or new to crafting.
- The time needed to craft a frame depends on how detailed the design is and your skill level. Simple frames might take 30 minutes, while more elaborate designs could take several hours.
- Incorporating recycled or eco-friendly materials like reclaimed wood or biodegradable cardboard makes the project more sustainable.
Why DIY Picture Frames Are a Budget-Friendly Choice
Making your own picture frames costs far less than buying them. A basic wooden frame you craft yourself typically runs $5-10 in materials. Compare that to purchasing a similar frame at a store for $20-40. Over time, this adds up, especially if you’re framing several pictures or building a gallery wall for your home.
If you’re framing multiple pieces, those savings stretch even further. It’s a smart way to add personal touches to your living space without overspending. By using leftover materials or repurposing items, costs can drop even more.
Want to know where to start? Check out this guide on how to make a picture frame for ideas and steps to bring your vision to life.
Customize Your Frames to Suit Any Style
DIY picture frames give me complete control over design. I can tweak the size, color, and overall style so they match my personal taste and the space they’re meant for. For example, reclaimed wood offers a rustic charm perfect for farmhouse decor, while colorful fabrics can add a playful touch to your child’s art display. Unconventional materials like acrylic or metal create sleek, modern options.
If you’re leaning toward rustic, I’d go for barn wood to craft a weathered look. For a streamlined, minimalist vibe, clean lines and neutral tones work best. Bold colors or funky shapes bring a whimsical approach for kids’ spaces. These choices let me align frames with styles like industrial or mid-century modern without compromise.
If you need guidance on the basics of frame building, here’s a useful guide on how to make a picture frame.
The Tools and Materials You’ll Need to Get Started
Different materials can shape the vibe of your picture frame. I’ve worked with wood like oak, pine, or balsa for their sturdiness, but cardboard, metal, or plastic are great alternatives, especially if you’re after something lightweight. For an eco-conscious touch, recycled wood or biodegradable cardboard brings sustainability into your project.
Your tools are the backbone of this craft. A hand-powered miter box works wonders for beginners, letting you cut precise angles without much fuss. If you’re more experienced, a power saw speeds things up. You’ll also need measuring tools, adhesives, sandpaper, and paints to customize your design. Don’t overlook finishing supplies like varnish or decorative trims for that polished look.
For budget projects, skip specialty glues in favor of multipurpose adhesives—they handle most materials with ease. You can explore this simple guide on making frames to match the tools to your experience level.
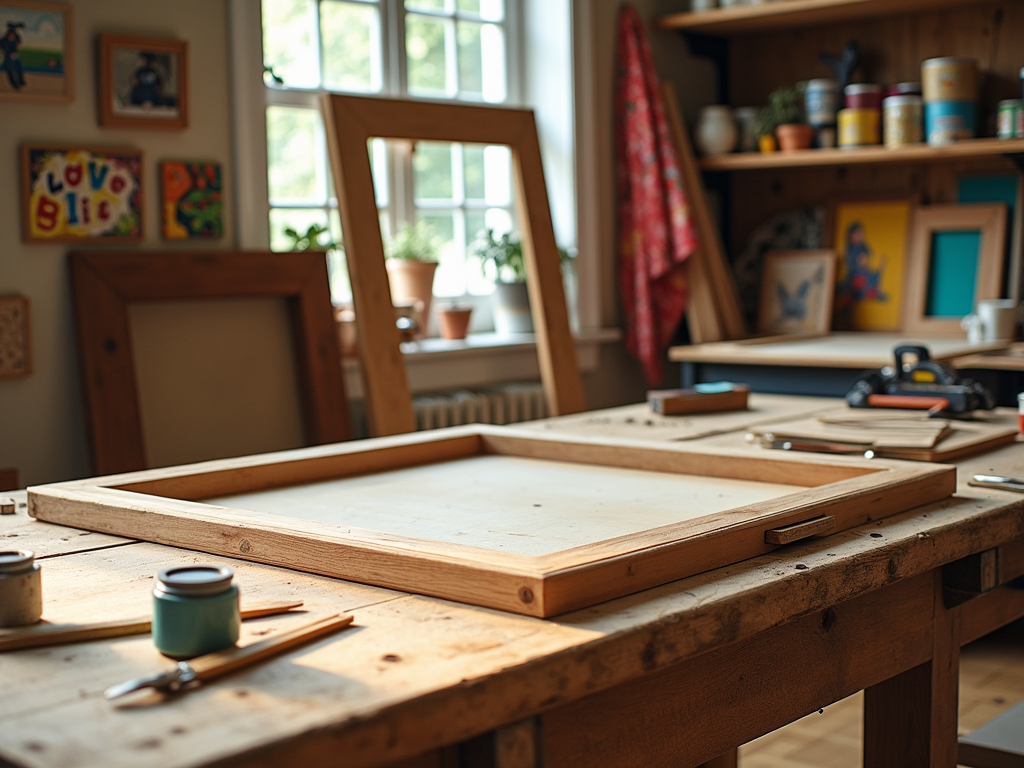
How to Build Your First Wooden Frame: Step-by-Step Guide
Getting started is easier than you might think. Here’s a straightforward process for crafting your wooden frame, with tips to ensure it looks polished and professional.
Step 1: Measure and Cut Your Wood
First, decide the size of your frame. Measure your artwork or photo carefully and add a small margin for the frame edges. Use a miter saw to cut the wood at 45-degree angles to ensure a clean, snug fit at the corners. Accurate measuring and cutting at this step are crucial for a balanced frame.
Step 2: Assemble the Frame
Lay the cut pieces flat, arranging them into the frame shape. Test the fit before securing the joints. Use wood glue for precision, then reinforce it with small finishing nails or corner brackets. Wipe away excess glue to avoid visible blemishes.
Step 3: Sand and Finish
Sand the frame with fine-grit sandpaper for smooth edges. At this stage, stain, paint, or seal the wood based on your style. A coat of finish enhances the wood grain while protecting it. Let it dry thoroughly before moving forward.
Step 4: Attach Mounting Hardware
Finally, flip the frame over to install mounting hardware like D-rings or a sawtooth hanger. Align them properly for balanced hanging.
For an alternative approach, consider lightweight cardboard strips if wood isn’t your preference. It provides a cost-effective way to create a simple frame. Check out this guide on how to make a picture frame for even more tips on building frames with different materials.
Mounting artwork requires care and the right methods to keep it looking its best. I rely on options like mat boards for a polished border, acid-free tape to secure without causing harm, or corner pockets for pieces too delicate to attach directly. Each has its own strengths for different artwork types.
For photographs, I use acid-free backing to prevent fading. Prints and posters work well with UV-protective glazing. Paintings often need spacers to avoid contact with the glass, preserving the texture. Always choose archival materials to prevent discoloration or bending over time.
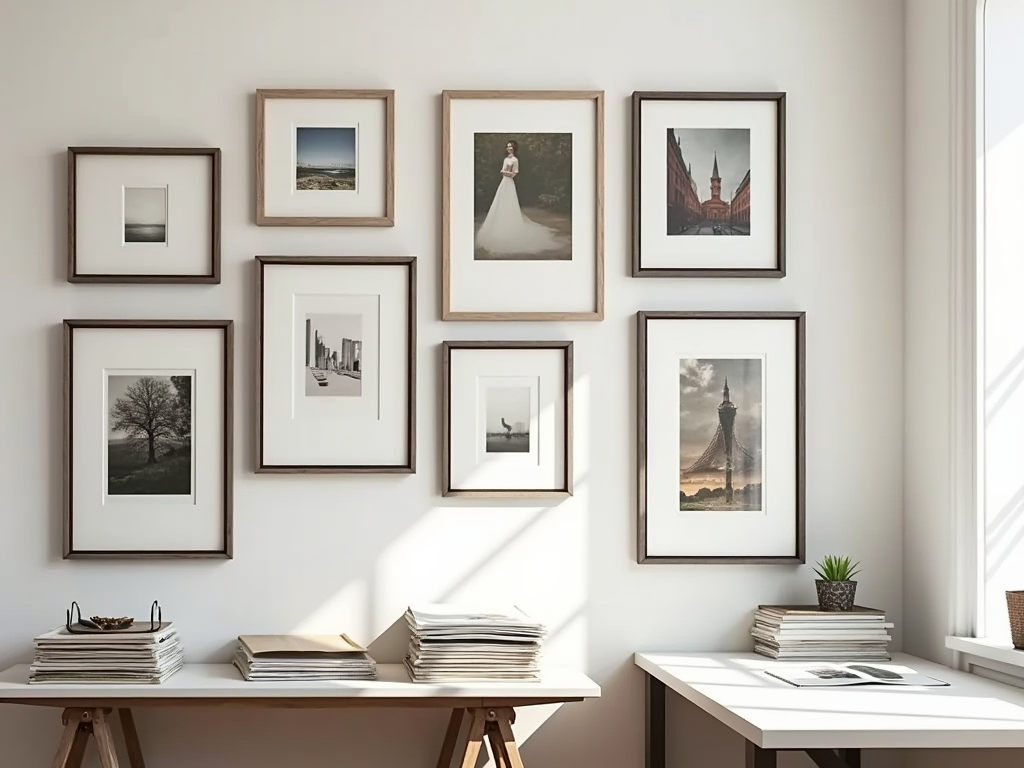
When hanging your frame, secure it with D-rings or sawtooth hangers based on the weight, and use wall anchors for heavy designs. Place frames at eye level and align them with nearby décor or furnishings. For tips on creating custom frames, check out this guide on how to make a picture frame.
How Much Time Does DIY Framing Take?
The time needed for making your own picture frames hinges on how detailed your project is. A basic cardboard frame could be ready in as little as 30 minutes, while crafting a wooden frame with intricate designs or finishes might take 2-3 hours. If you’re just starting out, simple frames are a great way to build your confidence without putting in too much time.
Your skill level will significantly influence how long the process takes. Beginners tend to spend more time measuring and assembling, especially with wood, as they develop familiarity with tools and techniques. On the other hand, more experienced DIY enthusiasts can swiftly handle precision tasks like cutting mitered corners or sanding and staining wooden pieces.
If you’re short on time but still want the satisfaction of creating a frame yourself, consider using pre-cut frame kits. These eliminate much of the cutting and measuring, helping beginners achieve polished results quickly. This approach can also reduce frustration for those venturing into more advanced projects for the first time.
For a quicker start, I’d recommend stepping through this guide on how to make a picture frame. It lays out practical steps for an efficient yet enjoyable DIY experience.
Sources:
The Frame Blog – “DIY Framing”
DIY Network – “How to Make a Picture Frame”
Popular Woodworking – “Picture Framing Made Easy”
Art Conservation Journal – “Choosing the Right Mat Board”
Mark Danielson Framing 101
Paul Frederick Framing – “The Complete Guide to Picture Framing”