
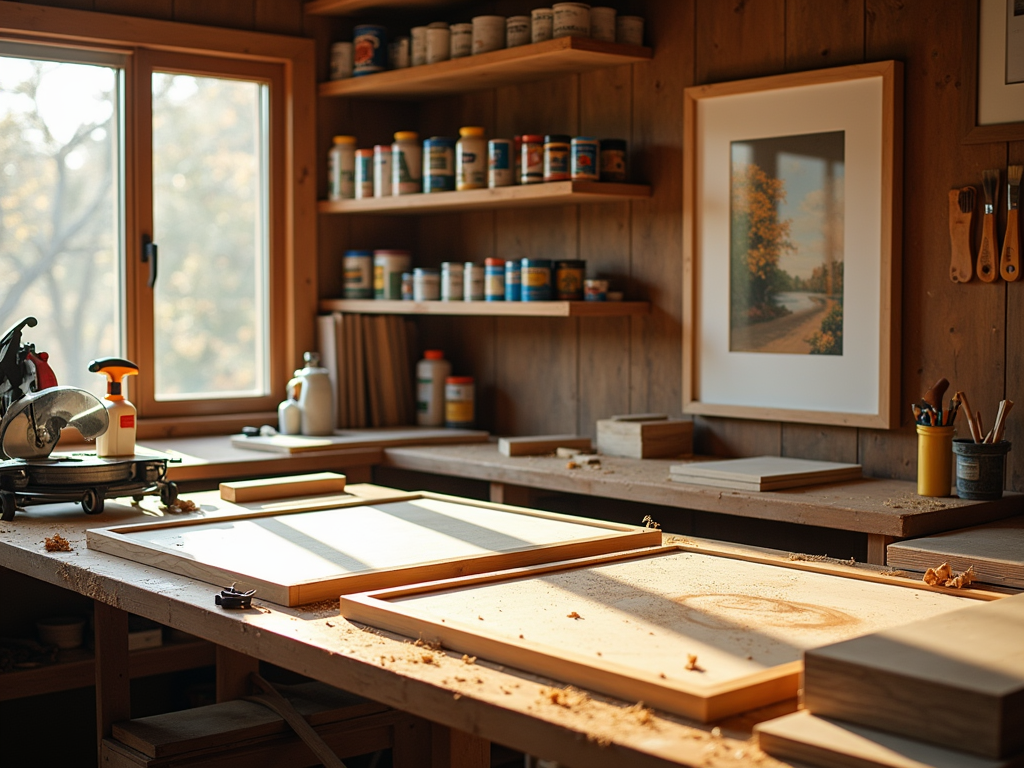
Creating a custom picture frame combines artistic expression with practical craftsmanship, letting you design something that harmonizes with your décor while safeguarding treasured moments. By taking a DIY route, you can cut costs and enjoy total command over the frame’s size, material choice, and finishing details—offering a polished, one-of-a-kind piece that feels truly yours.
Key Points to Remember
- Designing your frame from scratch gives you the freedom to adjust the dimensions, materials, and overall look to fit your space and preferences.
- The core tools you’ll want include:
- Miter saw for accurate angled cuts.
- Wood glue to securely join pieces.
- Sanding blocks or fillers for a smooth, refined finish.
- Step-by-step precision is critical—measure each piece carefully, align components properly, and strengthen the corners for a durable result.
- Once assembled, finishes such as:
- Wood stains.
- Vibrant paints.
- Protective varnishes—these elevate the frame’s appearance while shielding it against wear.
- Don’t rush the final setup—stack the glass, mat board, artwork, and backing properly, and use fasteners or clips to keep everything secure and presentation-ready.
Why a Custom Picture Frame is Worth the Effort
Crafting your own picture frame adds a unique, personal flair to your décor, setting it apart from store-bought options. It offers endless possibilities for customization, allowing you to match materials, colors, and styles to perfectly complement your home or the piece you’re framing. Plus, it’s often more budget-friendly than purchasing custom frames from a retailer.
The advantages go beyond cost and style. Creating your frame lets you adjust every detail. You can size it to fit a cherished photo, a piece of artwork, or even a memento that deserves a special display. By framing these items yourself, you’re preserving memories while enhancing their presentation.
The satisfaction of seeing something you built with your own hands hanging on a wall is unparalleled. It’s a project that combines creativity and practicality with results that truly reflect your personality.
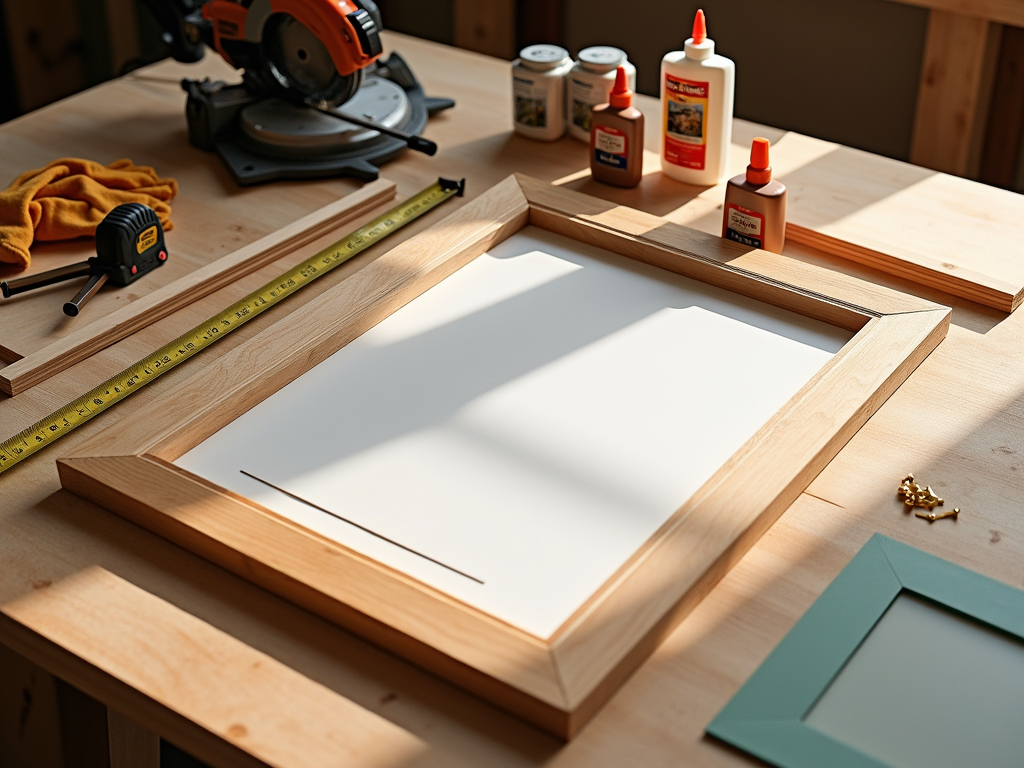
Essential Materials and Tools for Building a Picture Frame
To create a picture frame, you’ll need specific materials and tools to ensure solid construction and a professional finish. Here’s what you’ll want to gather:
- 1×4 wood: Pine is affordable and easy to work with, while oak offers a more durable, polished look.
- Measuring tape: Accurate measurements save time and eliminate waste.
- Miter saw: Essential for clean 45-degree cuts at frame corners.
- Wood glue: Adds strength before securing with clamps.
- Clamps: Bar or quick clamps keep everything aligned while drying.
- Sandpaper: Use rough to fine grits for a smooth surface.
- Optional wood filler: Fills gaps in joints.
- Hanging hardware: Gives the frame functionality.
- Glass or acrylic sheet: Glass offers clarity but is prone to breakage; acrylic resists shattering but may scratch.
- Mat board: Adds design appeal. Choose acid-free options to protect artwork.
- Backing board: Select a thickness that balances stability without adding bulk.
Prioritize safety. Sharp miter saw blades and airborne sandpaper dust require gloves, safety glasses, and proper ventilation during use.
Creating a picture frame can be a rewarding DIY project. To help you achieve a professional-looking result, follow these steps for cutting and assembling your frame properly:
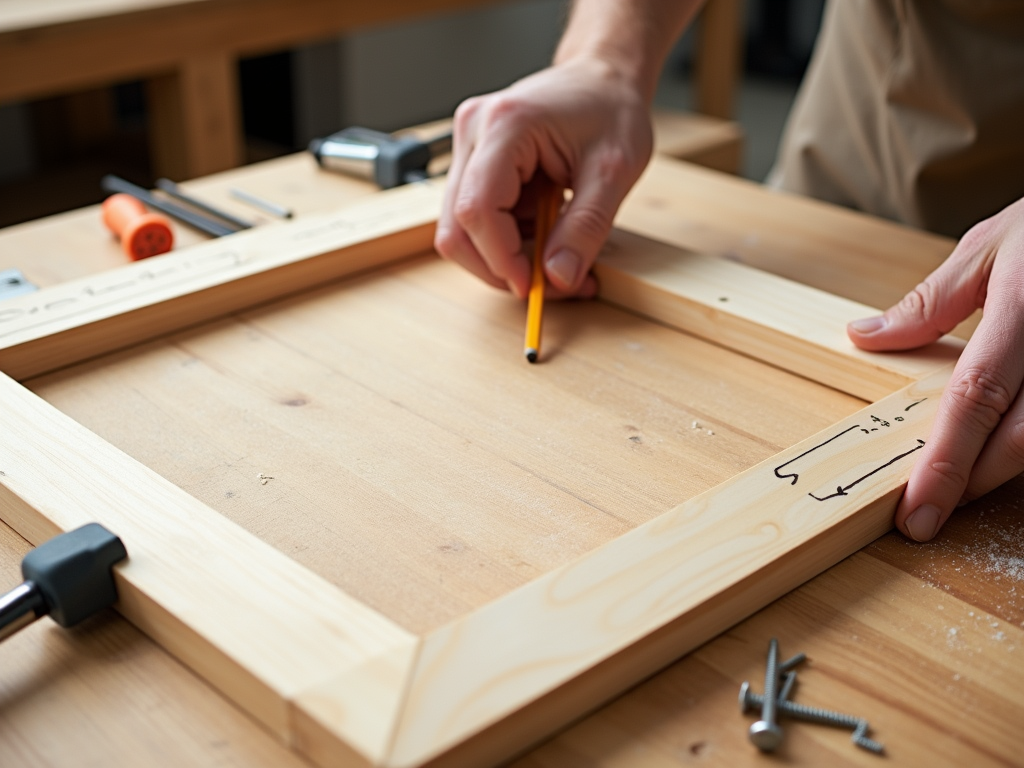
Step 1: Measuring and Preparing Materials
Start by measuring your picture’s dimensions, including the mat board if you’re using one. Add 1/8 inch to each side to accommodate for fitting. Use these measurements to determine the lengths of the wood pieces needed for your frame. Mark the wood with a pencil to ensure precision.
Step 2: Cutting the Frame
For clean 45-degree angles, a miter saw is your best tool. Set it to 45 degrees and make your cuts carefully, ensuring all opposite sides of the frame are identical in length. Accuracy here is key for seamless joints.
Step 3: Assembling the Frame
Using Wood Glue
Apply wood glue to the edges and align the pieces to form 90-degree corners. Use clamps to hold the joints securely. Allow at least 24 hours for the glue to fully dry.
Adding Reinforcement
For extra strength, you can add nails or screws at the joints. While nails are quicker, screws provide better durability but require more effort.
By following these steps, you’ll be able to create a sturdy and visually appealing picture frame that perfectly fits your artwork.
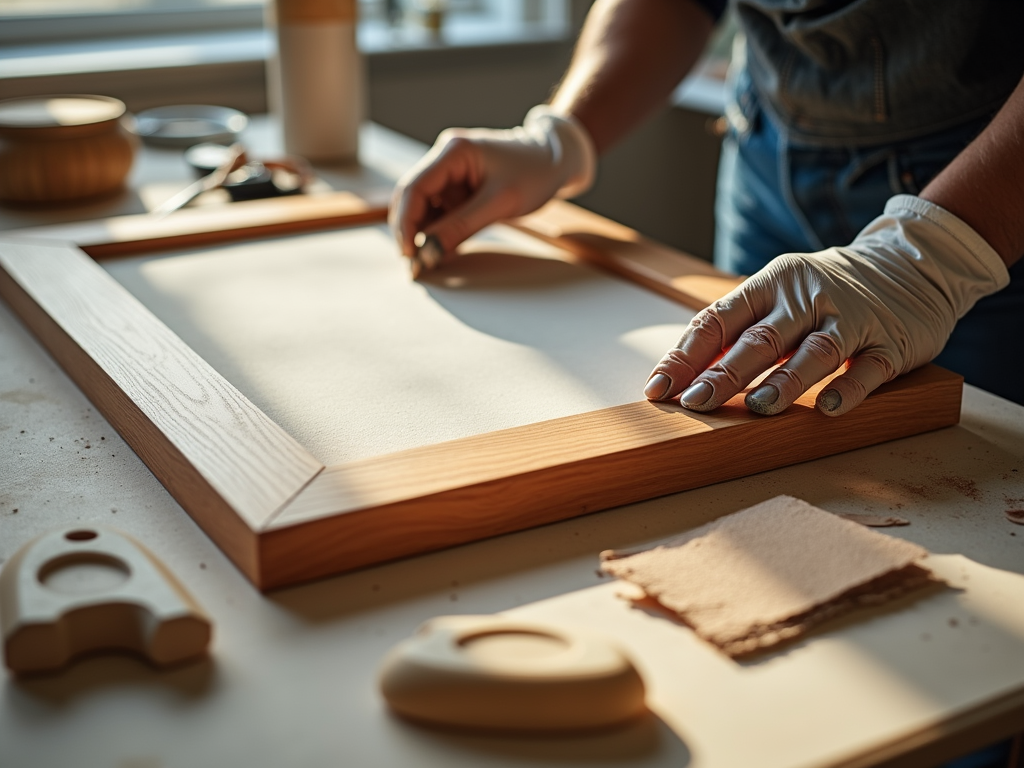
Perfecting the Finish: Sanding, Filling, and Painting
Start by sanding the frame with coarse-grit sandpaper to remove rough edges. Gradually move to finer grits, like 150-220, for a smooth surface. Keep light pressure to avoid over-sanding. If there are gaps or imperfections in the frame, use wood filler. Apply it with a putty knife, smoothing over problem areas. Allow the filler to dry fully, usually within 30 minutes to an hour, before sanding those spots again with fine-grit sandpaper.
For a creative finish, try matte or glossy paint depending on your preference. Natural-looking wood stains bring out the wood grain beautifully, while sprayers ensure even coverage, or brushes and rags allow more control. Always follow product-specific drying times, which can range from 1 to 24 hours. Ensure good ventilation while working with paints or stains, and wear protective gear, such as gloves and a mask, for safety.
Framing and securing a picture properly is crucial to ensure it is both protected and displayed attractively. Below is a detailed guide to assist you in the process.
Preparing the Materials
To start, you’ll need to prepare the glass or acrylic sheet, the mat board (if included), and the backing board. All pieces should match the internal dimensions of your frame. For safety while cutting glass, wear gloves and use a glass cutter with a steady hand. Acrylic sheets can be scored with a utility knife and snapped along the scored line. When cutting mat and backing boards, use a ruler and a sharp craft knife for clean lines.
How to Position the Picture
Position the picture centered on the backing board. If you’re using a mat board, align the picture behind the cut-out window of the mat. Use acid-free photo corners or a small amount of archival tape to fasten it gently without damage. Ensure everything stays straight during this process.
Assembling the Frame
Layering the Materials
Layer the materials in the frame in this order:
- Glass or acrylic (this acts as a protective surface).
- Mat board with the picture (if applicable).
- Backing board (provides stability).
Press it all together firmly so the materials don’t shift.
Securing Everything in Place
Secure the entire stack inside the frame using hardware like turnbuttons or framing points. Turnbuttons are ideal for ease of adjustment, while framing points provide a tighter hold. Make sure to space securing points evenly along the edges to prevent the materials from moving. Double-check that the picture and mat board remain centered as you fasten them.
Final Touches
For a polished look, wipe the glass and inspect for dust or smudges before sealing the frame completely. This step ensures the final result is clean and professional.
Sources:
Fine Woodworking
Popular Woodworking