
Key Takeaways
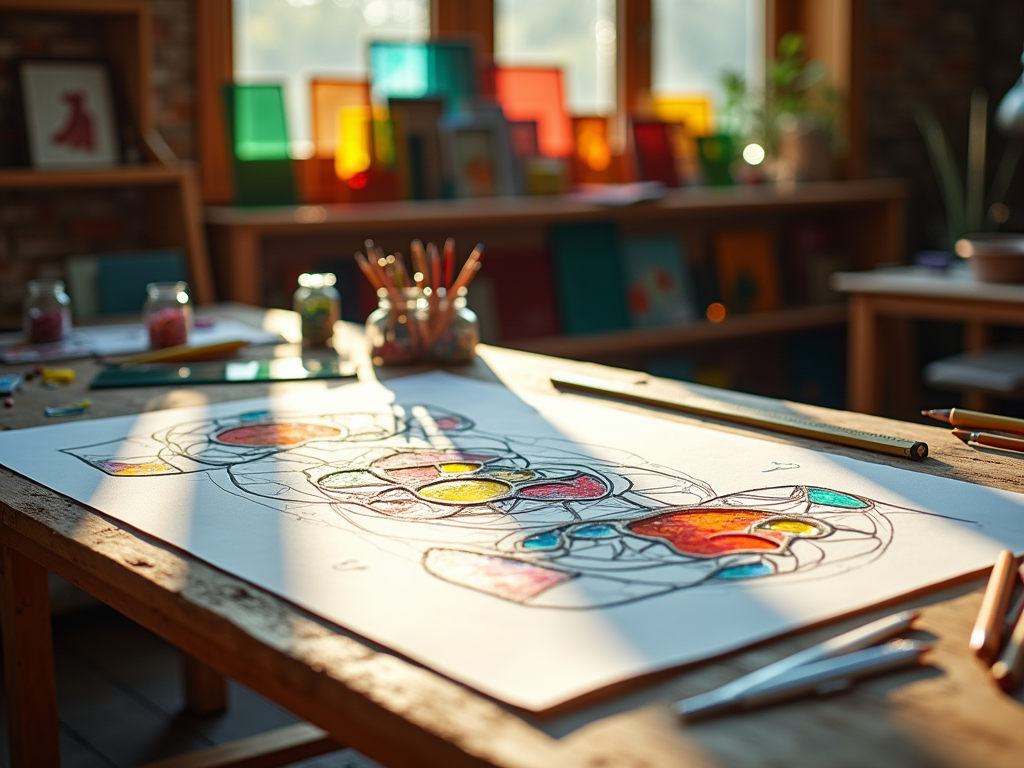
- The journey starts with a full-sized composition sketch—often called a “cartoon.” This serves as the exact blueprint for the stained glass design.
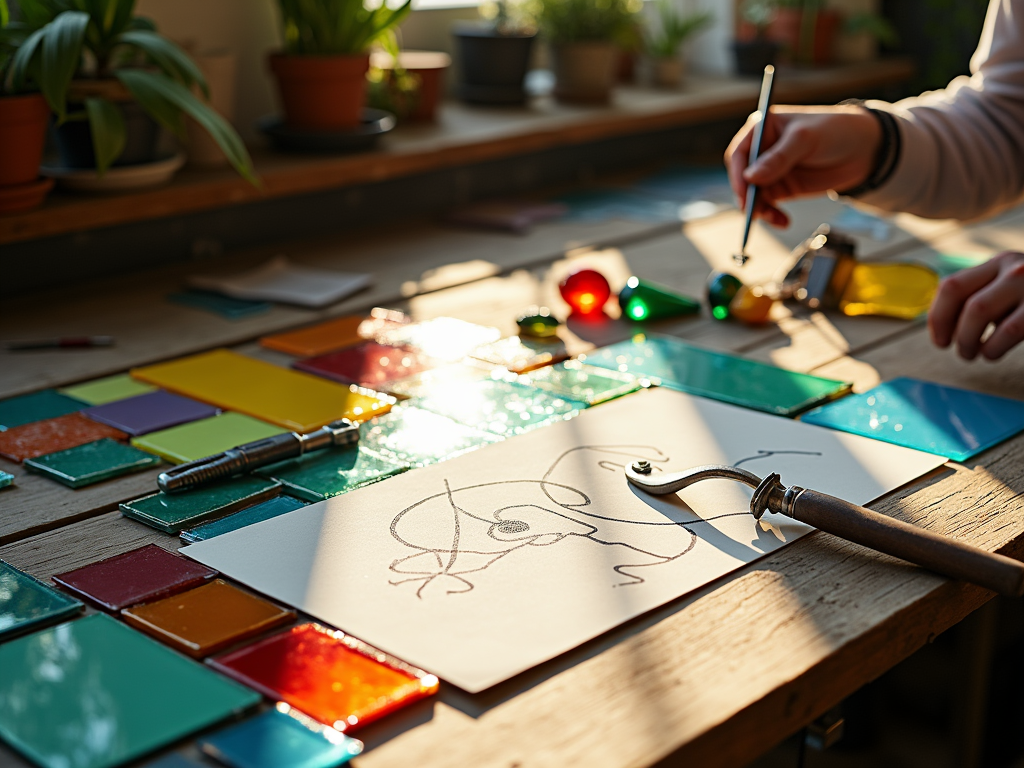
- Glass is carefully shaped and refined with specialized tools like grozing pliers and grozing irons to align with the specific details of the sketch.
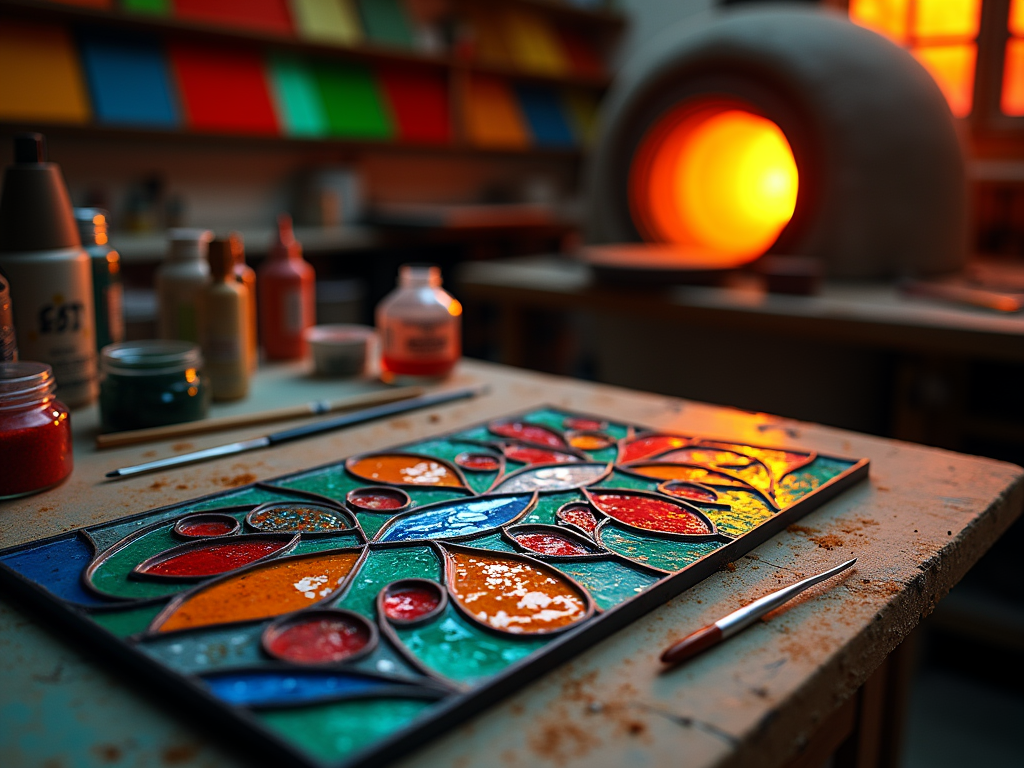
- Vitreous paint, enriched with metallic oxides, introduces expressive designs and vibrant colors. These are made enduring through kiln firing, which fuses the paint to the glass.
- Flexible lead cames hold the glass pieces securely in place. Soldering strengthens the framework while cementing ensures both lasting durability and protection against moisture.
- Quality tools and materials, including precision glass cutters, copper foil, and premium-grade glass sheets, contribute significantly to achieving professional-level results.
Conclusion
Stained glasswork demands not just skill, but also the right tools and a steady vision. Prioritize patience and accuracy at each stage, and the brilliance of the final creation will reflect those efforts.
Creating the Composition Sketch
Everything starts with a full-sized composition sketch known as a “cartoon.” Artists rely on these detailed drawings to define the shapes, colors, and precise elements needed for each glass piece. Think of it as the blueprint for the final artwork. Without a design this thorough, the entire project could feel disjointed or underdeveloped.
It’s not just about tossing shapes and colors onto a page; the sketch must account for the artistic vision and the technical requirements of stained glass. For instance, artists carefully ensure the lead lines—used to join the glass pieces later—complement the design rather than interrupt it. Achieving this balance takes experience and a trained hand.
Years of practice go into perfecting these skills. Artists need an eye for detail and a deep understanding of how light interacts with the chosen materials. If you’re curious about trying your hand at it, you might find this guide on how to make stained glass really helpful.
A solid cartoon brings cohesion, capturing both the beauty and structural logic of the work. This stage isn’t something you can skip or rush—it’s the backbone of a successful stained glass piece.
Shaping the Glass: Turning Design into Reality
Artists bring designs to life by transferring the cartoon outline onto sheets of carefully chosen glass. To make the markings clear and temporary, they use a white lime wash. This acts like a guide, helping the detailed artwork stay visible throughout the shaping process.
Specialized tools play a big role in cutting and refining each piece of glass. A dividing iron, with its sharp edge, scores the glass along the lines of the design. After scoring, grozing pliers come in handy to snap the glass cleanly along the scored marks. These pliers aren’t just about breaking the glass—they give precision and control.
For even finer adjustments, artists rely on grozing irons. These tools help smooth out edges and shape tricky angles where curves meet sharp corners. Think of it like assembling a puzzle, where every piece has to fit perfectly. With each cut and tweak, the once-flat sheet of glass transforms to match the blueprint.
This stage of the process is where the design starts to feel real, as each individually cut piece begins to fit together like magic. If you’d like to put these steps into practice, here’s a link to an easy-to-follow guide on how to make stained glass from start to finish.
The Role of Vitreous Paint and Kiln Firing in Stained Glass Creation
Vitreous paint plays a crucial part in transforming plain glass panels into vivid works of art. Made from finely ground glass, metallic oxides, and a liquid binder, this mixture allows artists to add detailed designs directly onto the glass surface. Each stroke reflects the meticulous effort poured into crafting a one-of-a-kind display of color and light.
These metallic oxides are what inject life into stained glass. Copper-based oxides can create an array of rich ruby, striking blue, or deep green shades. To achieve warmer tones like amber or orange, pigments containing uranium or cadmium come into play. This thoughtful selection of pigmentation ensures no two stained glass pieces are exactly alike.
After applying the vitreous paint, kiln firing permanently bonds the design to the glass. This process heats the glass to high temperatures, causing the paint to melt and fuse seamlessly with the surface. The result not only preserves the intricate artistry but also enhances its vibrancy and durability.
The entire process truly highlights the precision and creativity involved in stained glass making. If you’re curious about other fascinating steps, you might enjoy exploring how to make stained glass. It’s a stunning craft that blends chemistry, design, and passion.
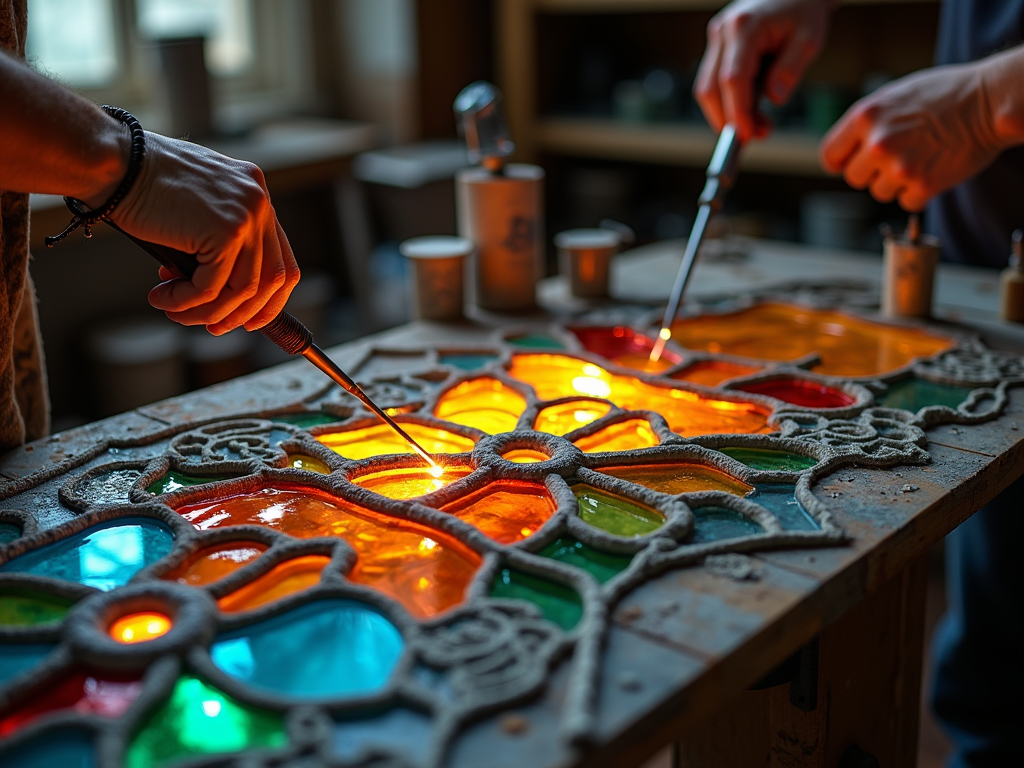
Assembling and Securing Stained Glass
Pieces of stained glass are bound together using flexible lead strips, known as lead cames, which grip the glass firmly while offering adjustability for minor tweaks. Once the design is laid out, the joints of the lead cames are carefully soldered using a lead-tin alloy. This process locks the entire structure in place.
To protect the artwork from water and extend its life, a cement mixture is applied between the cames and glass. This not only waterproofs the design but also strengthens it for durability. Attention to detail is essential during glazing and soldering to ensure the glass remains stable and vibrant for years.
If you’ve ever been curious about how to make stained glass, this guide to stained glass creation provides a step-by-step approach for both beginners and enthusiasts alike.
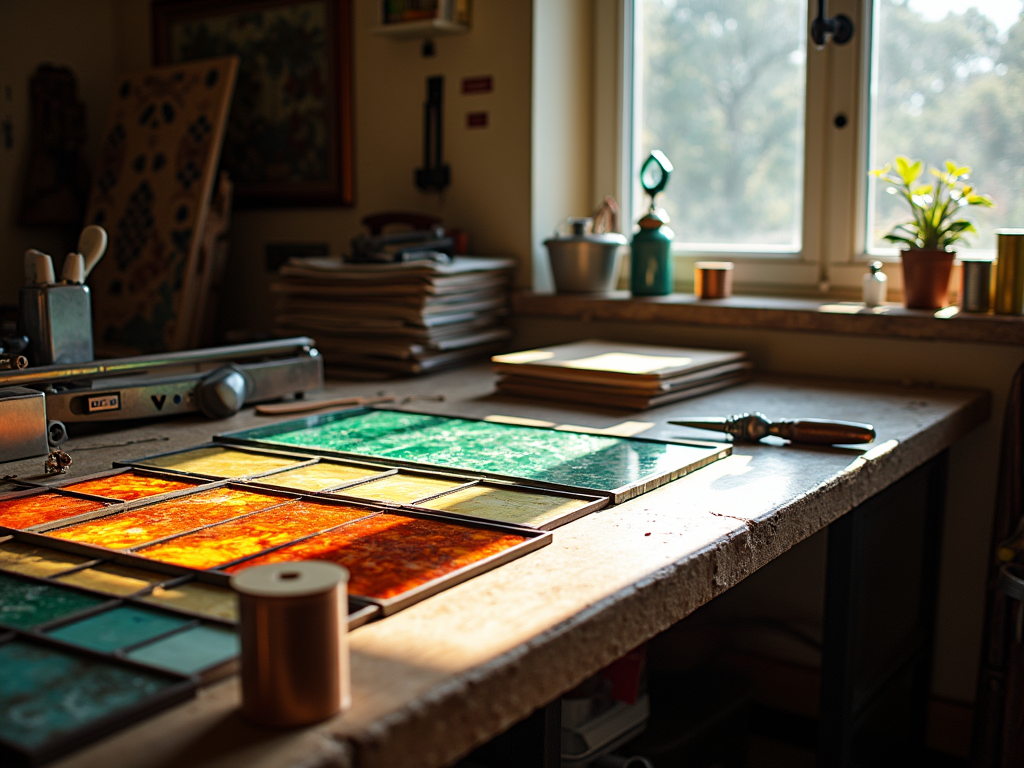
Essential Tools and Materials for Creating Stained Glass
The right tools and materials can truly define the outcome of your stained glass project. A high-quality glass cutter is your starting point, offering precise cuts for your design. Grozers and running pliers come next, helping to refine and smooth edges or snap out intricate cuts.
When choosing materials, stained glass sheets are crucial. Cathedral glass brings vibrant transparency, while opalescent glass adds soft, diffused color. Copper foil is a standout material—its flexibility ensures strong soldering, resulting in a sturdy final piece.
Here’s a quick checklist to keep handy:
- Glass cutter – For consistent, clean outlines.
- Grozers and running pliers – Essential for shaping and refining.
- Copper foil – For seamless soldering and strength.
- Premium stained glass sheets – Options like cathedral or opalescent glass make all the difference.
Tools and materials are investments; they elevate your craftsmanship beyond ordinary. For an in-depth look, read how to make stained glass.
Sources:
Cumberland Stained Glass: “How Is Stained Glass Made?”
Hot Shot Ovens: “5 Steps to Stained Glass Making Success”
Khan Academy: “How Stained Glass Is Made”
Disclosure: As an Amazon Associate, I earn from qualifying purchases.